
From Flutter Official Web Site:
“Flutter is Google’s portable UI toolkit for crafting beautiful, natively compiled applications for mobile, web, and desktop from a single codebase. Flutter works with existing code, is used by developers and organizations around the world, and is free and open source.
Flutter is different than most other options for building mobile apps because Flutter uses neither WebView nor the OEM widgets that shipped with the device. Instead, Flutter uses its own high-performance rendering engine to draw widgets.
In addition, Flutter is different because it only has a thin layer of C/C++ code. Flutter implements most of its system (compositing, gestures, animation, framework, widgets, etc) in Dart (a modern, concise, object-oriented language) that developers can easily approach read, change, replace, or remove. This gives developers tremendous control over the system, as well as significantly lowers the bar to approachability for the majority of the system“.
In this post, we will see what we need to install in a macOS system, in order to work with Flutter.
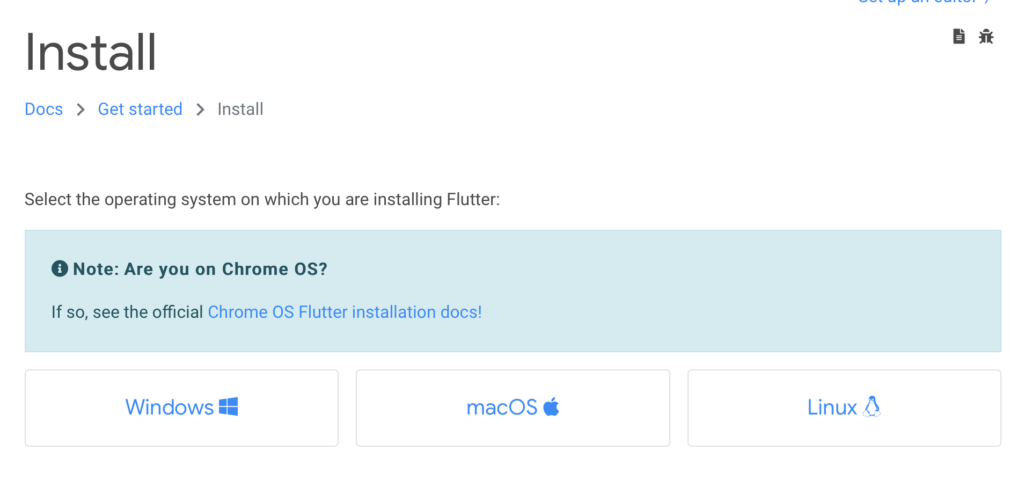
First of all, we open a browser, go to https://flutter.dev/docs/get-started/install and we select our operating system:
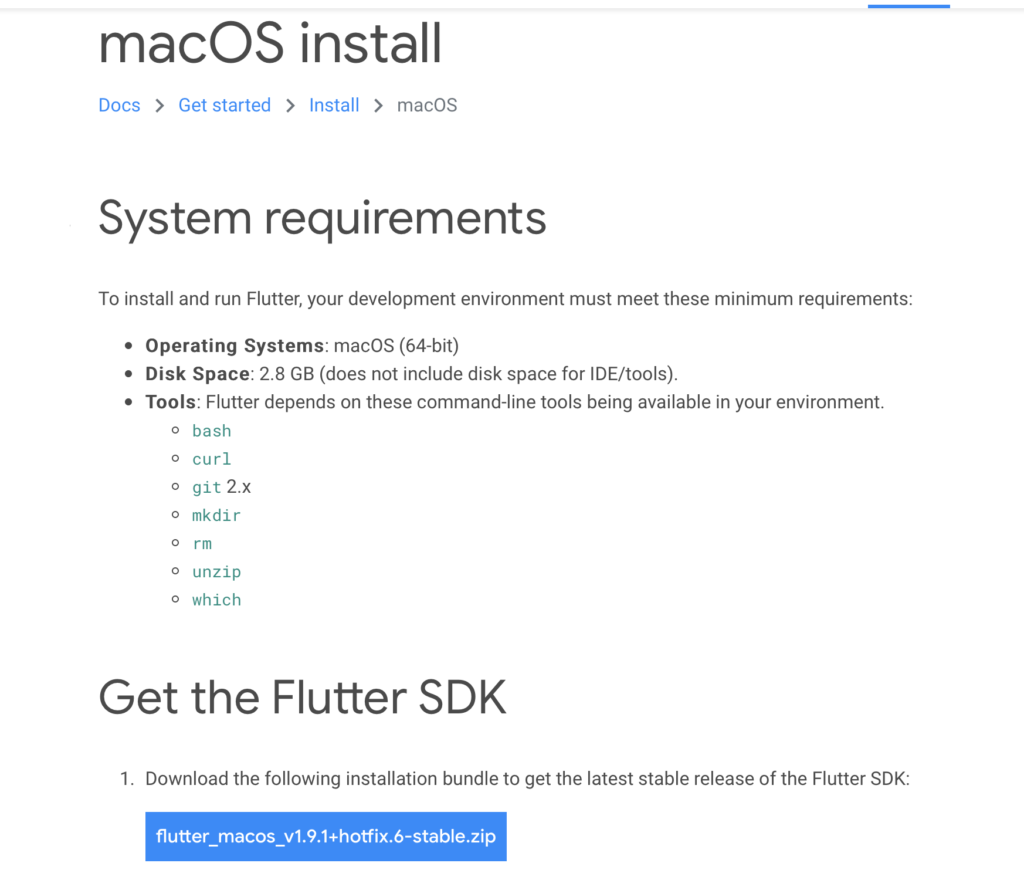
We push the macOs button and then, we download the latest stable release of the Flutter SDK:
After the download, we extract the file zip and then, we move the folder “Flutter” into our User’s folders.
Now, we open terminal, run the command vim .zshrcs (this is only for macOS Catalina), we write the code line
export PATH=”$PATH:[PATH_TO_FLUTTER_DIRECTORY]/flutter/bin”
and finally, for saving the file, we digit: [esc] + :wq! + [Enter].
In order to verify everything is fine, we run the command flutter –version
and we should see this information:
