In this post, we will start to use Flutter, in order to understand how it works.
We will try to create a simple mobile application, where we will insert an “app bar”, a button and a text in the centre of the display.
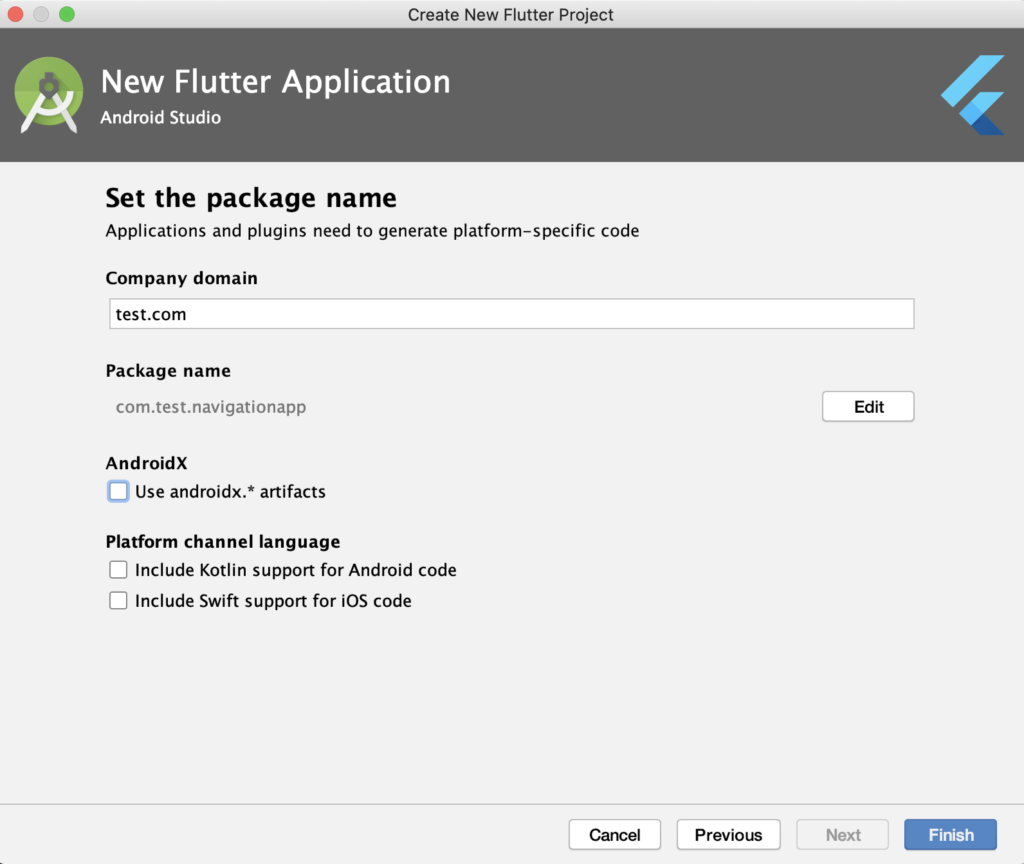
First of all, we open Android Studio, select the option “Start a new Flutter project” and then we push on the “Flutter application“ button.
Then, we have to fill down some information in order to configure the application:

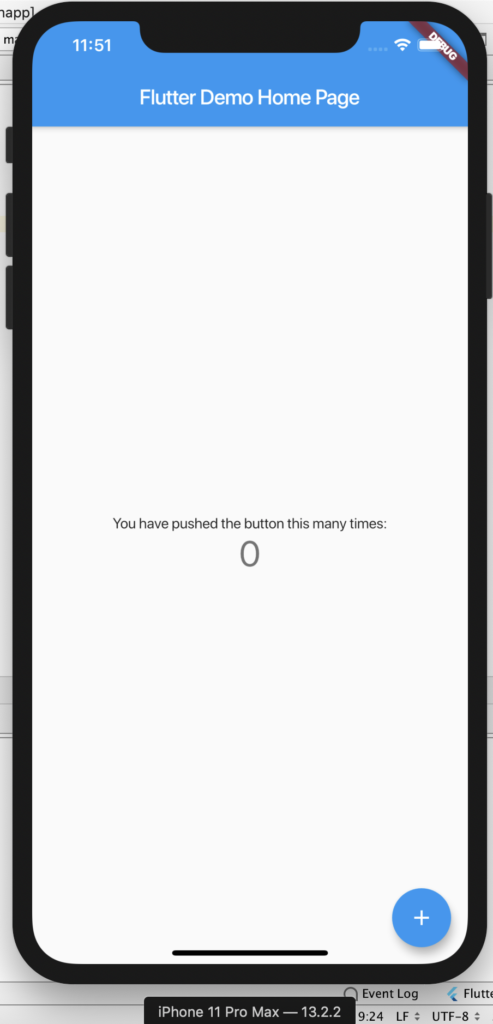
If we run the application, using for example the iOS emulator, this will be the result:
Now, we open the file lib/main.dart, delete everything and we write this code:
import 'package:flutter/material.dart';

final String title = "First App with Flutter";


// Define the first widget, called Material app.
// It is a convenience widget that wraps a number
// of widgets that are commonly required for material
// design applications
void main() => runApp(MaterialApp(
  // Define in home page, the widget called Scaffold.
  // The Scaffold implements the basic material design visual layout structure.
  home: Scaffold(
    // in the Scaffold, we define an Appbar
    appBar: AppBar(
      title: Text(title),
    ),
    body: Center(
     child: Text("Text in the center" , style: TextStyle(color: Colors.yellow, fontWeight: FontWeight.bold)),
    ),
    floatingActionButton: FloatingActionButton(
        onPressed: () {
          //To do:
        },
      child: Text("+"),
    ),
    backgroundColor: Colors.blue,
  ),
));
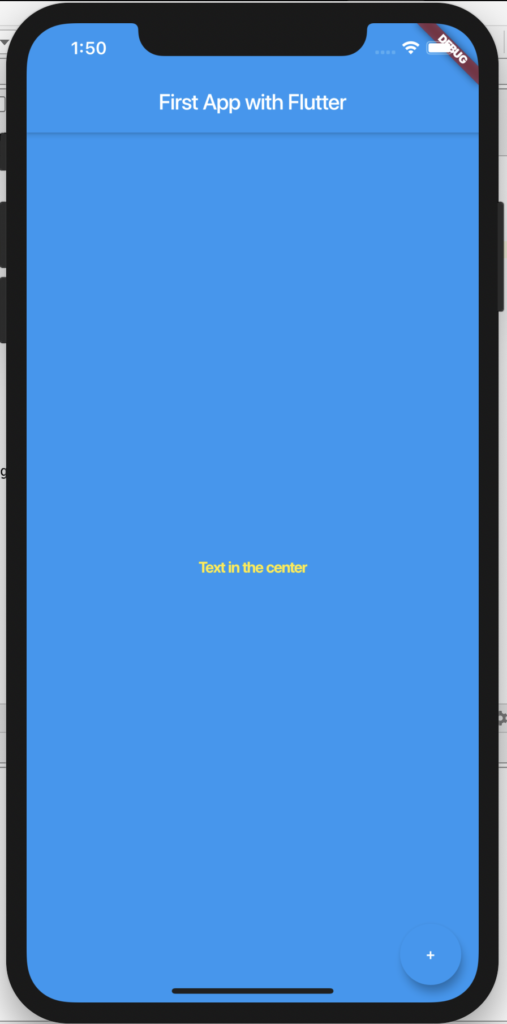
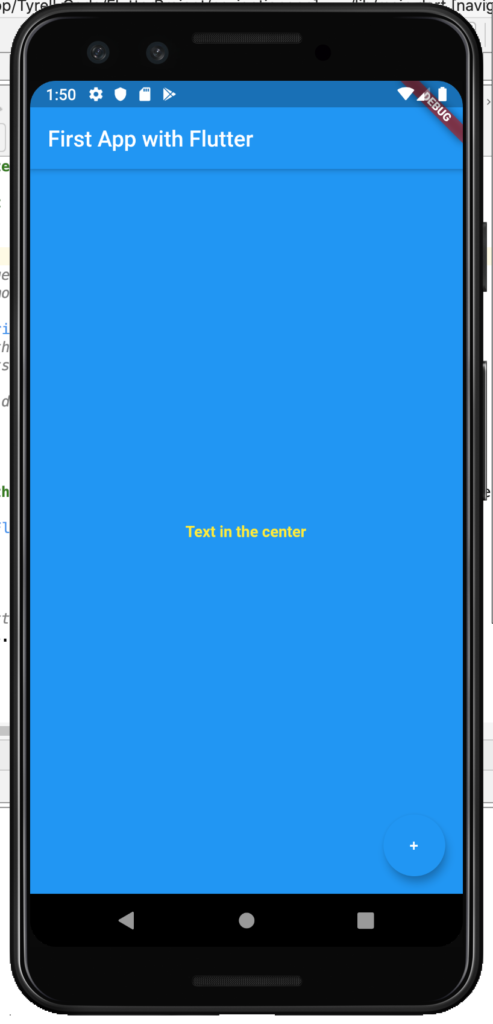
If we run the application, this will be the result: