In this post, we will see how to use Virtualenv in our Python projects.
But first of all, what is Virtualenv?
Virtualenv is a tool to create isolated Python environments and it is useful when we need to work with specific version of libraries/packages, without affecting other projects.
We start installing Virtualenv with the command:
py.exe -m pip install virtualenv
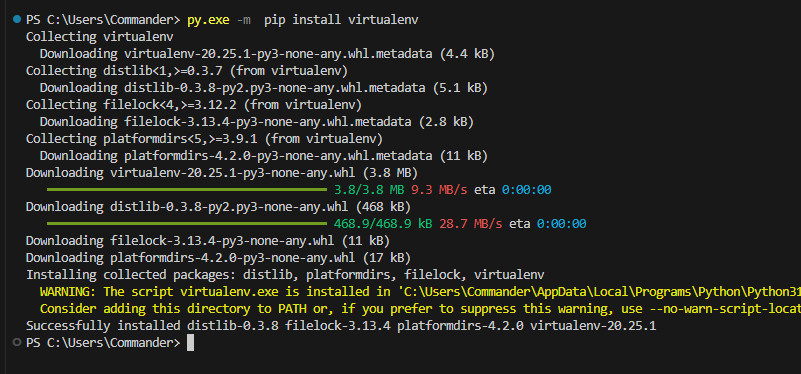
IMPORTANT: currently, I am using Windows 11 on my PC so, I have to add the Python ‘Scripts’ directory to my PATH, in order to use Virtualenv command
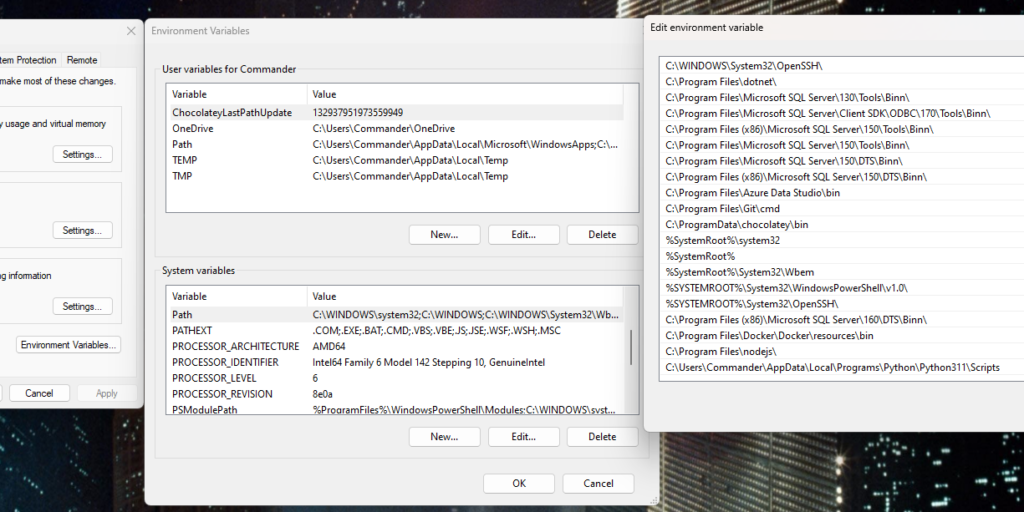
Then, we go to the project folder and we create a new virtual environment, called TestEnv, with the command:
virtualenv.exe TestEnv

Finally, we activate the virtual environment with the command:
.\TestEnv\TestEnv\Scripts\activate
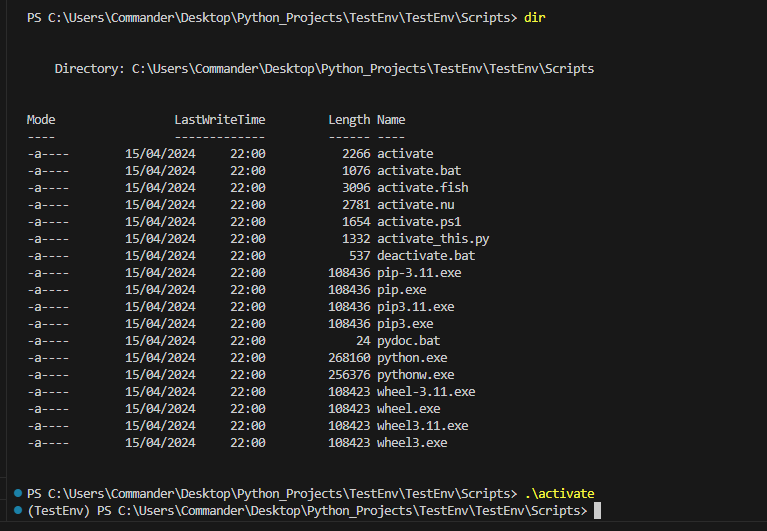
At this point, we can install the Flask package using pip and it will be isolated to this environment.
py.exe -m pip install Flask
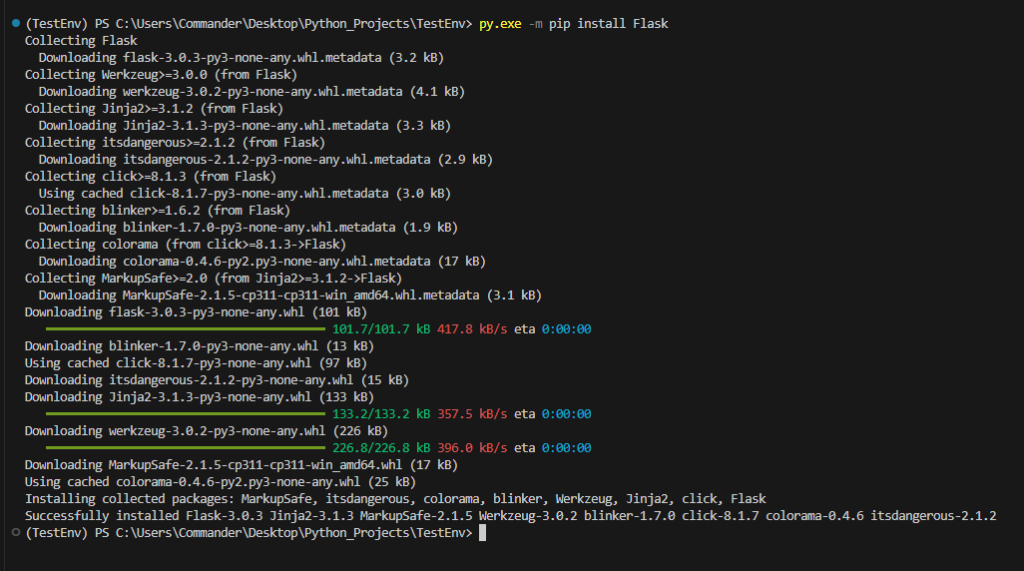
Then, we add the file main.py:
from flask import Flask

# Example code using Flask
app = Flask(__name__)


@app.route('/')
def home():
    return "Hello, World!"


if __name__ == '__main__':
    app.run(debug=True)
Finally, if we run the main file, the following will be the result:

If we want to deactivate the virtual environment, we have to run the command:
.\TestEnv\TestEnv\Scripts\deactivate
The last thing that I want to show, is how to export all packages/libraries installed in a project.
For example, if we want to copy this project in a new folder or in another PC, we have to to export the libraries used in this project as well.
In order to do it, we can use the command:
py.exe -m pip freeze > requirements.txt
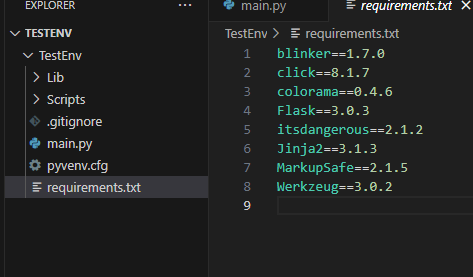
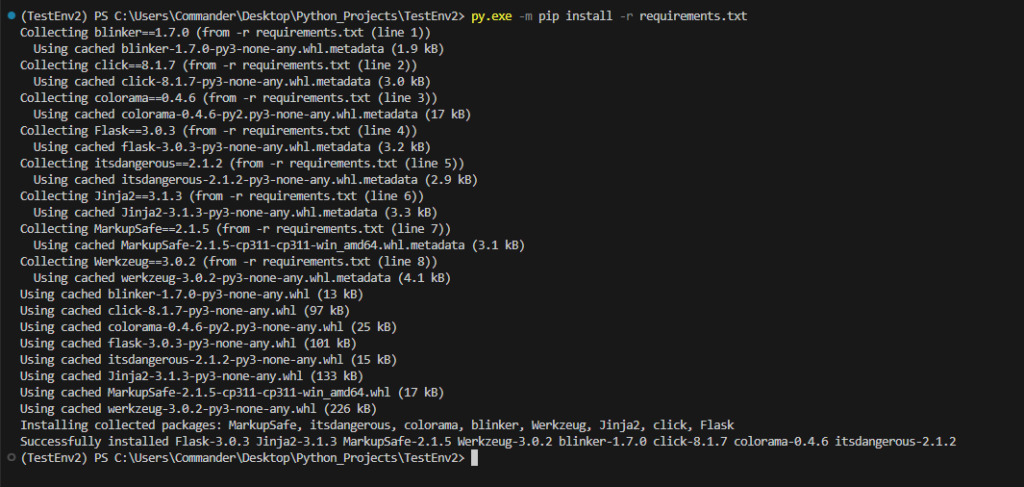
Now, after we created a new Virtualenv, we can install all libraries using the command:
py.exe -m pip install -r requirements.txt
Finally, if we run the main.py, the following will be the result:
