In this post, we will see how to create a Stateless Widget and how to use it in a Flutter project.
First of all: what is a Stateless Widget?
From https://docs-flutter-io.firebaseapp.com:
“A widget that does not require mutable state.
A stateless widget is a widget that describes part of the user interface by building a constellation of other widgets that describe the user interface more concretely. The building process continues recursively until the description of the user interface is fully concrete (e.g., consists entirely of RenderObjectWidgets, which describe concrete RenderObjects).
Stateless widget are useful when the part of the user interface you are describing does not depend on anything other than the configuration information in the object itself and the BuildContext in which the widget is inflated. For compositions that can change dynamically, e.g. due to having an internal clock-driven state, or depending on some system state, consider using StatefulWidget.“
We open Android Studio, create a new Flutter project, we open the file lib\main.dart, delete everything and finally, we insert this code:
[MAIN.DART]
import 'package:flutter/material.dart';

void main() => runApp(MaterialApp(
    home: Scaffold(
      // AppBar
      appBar: AppBar(
        title: Text("Class Home"),
        // definition of background color
        backgroundColor: Colors.lime,
      ),
      // body
      body: Center(
        child: Text("Text in the centre", style: TextStyle(color: Colors.white)),
      ),
      // Button
      floatingActionButton: FloatingActionButton(
        // button's text
        child: Text("Press", style: TextStyle(color: Colors.black)),
        // button's background color
        backgroundColor: Colors.lime,
      ),
      // background's color
      backgroundColor: Colors.blue,
    )
));
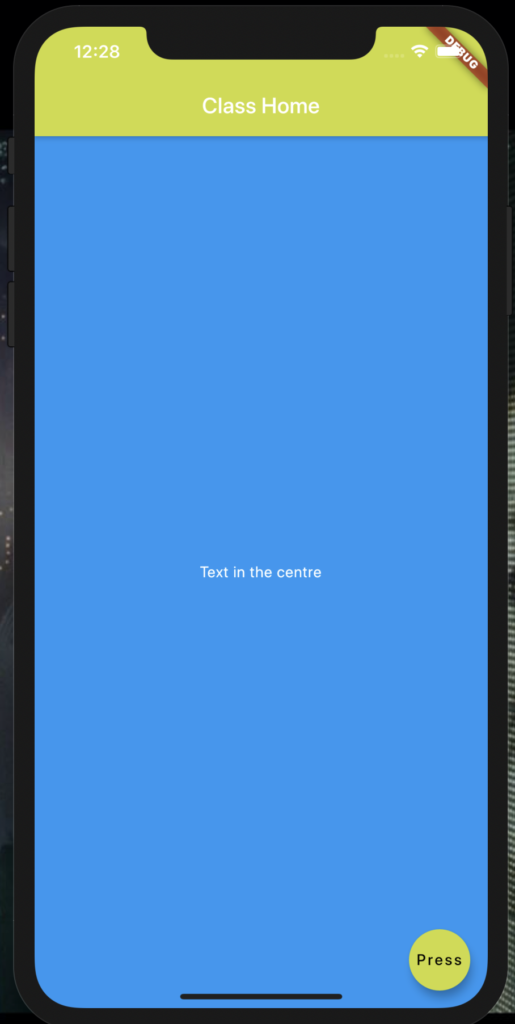
If we run the application, using the iOS simulator, this will be the result:
Now, we will change the code, in order to use a Stateless Widget.
We start adding a new file called BodyFile.dart, where we will define our Stateless Widget:
[BODYFILE.DART]
import 'package:flutter/material.dart';


class BodyFile extends StatelessWidget {
  @override
  Widget build(BuildContext context) {
    return Scaffold(
      // we insert the same code present in the Main.dart file
      // AppBar
      appBar: AppBar(
        title: Text("Class Home"),
        // definition of background color
        backgroundColor: Colors.lime,
      ),
      // body
      body: Center(
        child: Text("Text in the centre", style: TextStyle(color: Colors.white)),
      ),
      // Button
      floatingActionButton: FloatingActionButton(
        // button's text
        child: Text("Press", style: TextStyle(color: Colors.black)),
        // button's background color
        backgroundColor: Colors.lime,
      ),
      // background's color
      backgroundColor: Colors.blue,
    );
  }
}
Finally, we will modify the main.dart file, in order to import and use BodyFile.dart:
[MAIN.DART]
import 'package:flutter/material.dart';
import 'BodyFile.dart';

void main() => runApp(MaterialApp(
    home: BodyFile()
));
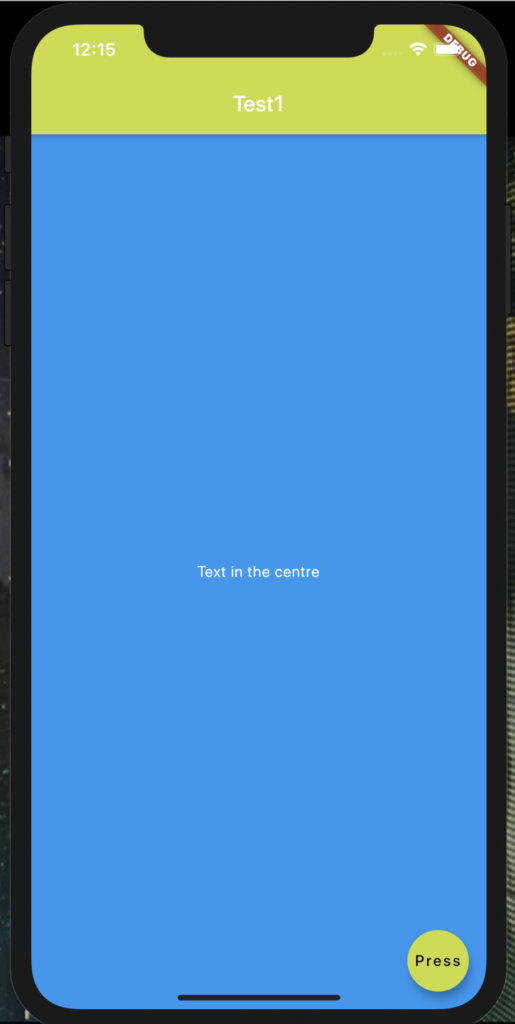
If we run the application again, this will be the result: