In this post, we will see how to create and use a Detail View in a List.
A Detail View is nothing but a Swift file where, we can define the style and what we want to display in a List.
Let’s start by taking the code used in the file ContentViewList.swift:
var body: some View {
     // Defintion of a Navigation Controller
     NavigationView{
         // put the array into a List
         List(lstUser) { item in
             NavigationLink(destination: DetailUser(objUser: item))
             {
                // code used to display username and password
                HStack
                {
                    Text("ID: \(item.id)")
                    VStack
                    {
                        Text(item.Username)
                        Text(item.Password)
                    }.padding(.leading, 20)
                }.padding(.leading, 10)
             }
         }.navigationBarTitle("Dynamic List")
     }
 }
In this case, we have a simple code but, in many real projects, we could have a more complex style and data to show.
For this reason, it is useful create a new Swift file where we can define the style and data of a list’s items:
[ITEMUSER.SWIFT]
Import SwiftUI

struct ItemUser: View {
    // define the variable in input
    let objUser:User
    var body: some View {
        // define style and data
        HStack
        {
            Text("ID: \(objUser.id)")
            VStack
            {
                Text(objUser.Username)
                Text(objUser.Password)
            }.padding(.leading, 10)
        }.padding(.leading, 10)
    }
}

#if DEBUG
struct ItemUser_Previews: PreviewProvider {
    static var previews: some View {
        ItemUser(objUser: User(id: 1, Username: "test", Password: "test", Info: "test"))
    }
}
#endif
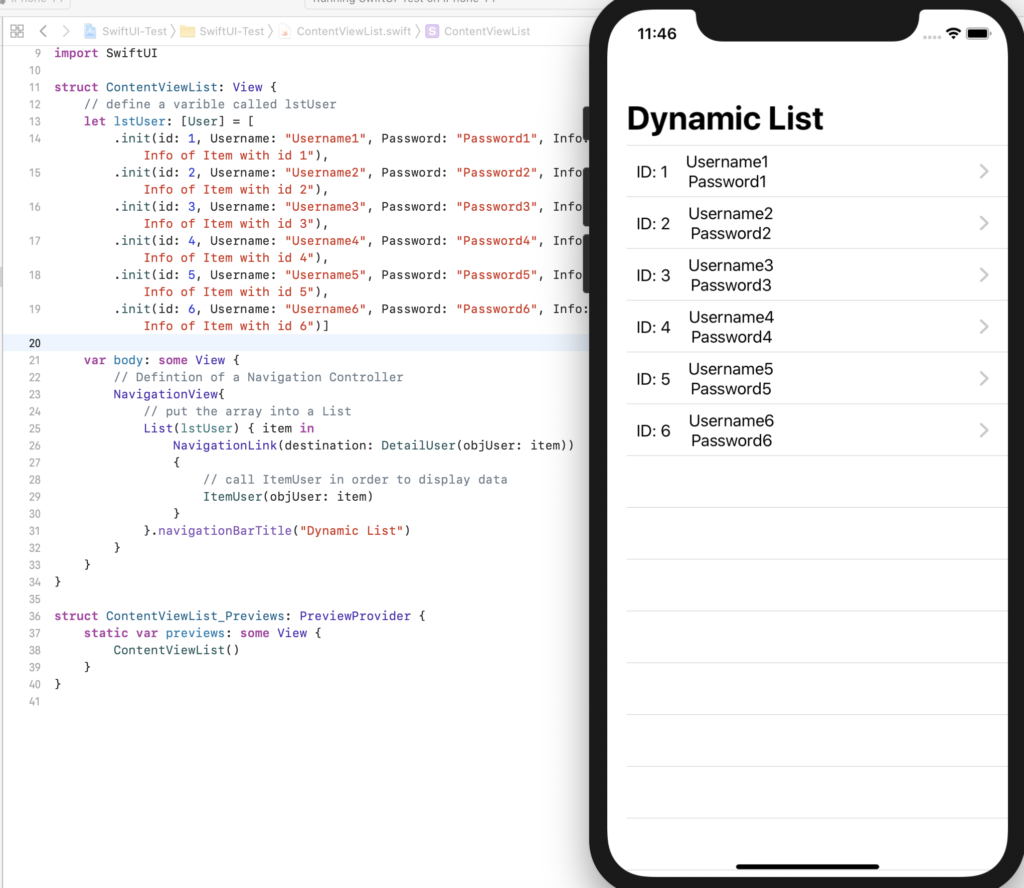
Finally, we have to add the ItemUser into the file ContentViewList.swift:
var body: some View {
    // Defintion of a Navigation Controller
    NavigationView{
        // put the array into a List
        List(lstUser) { item in
            NavigationLink(destination: DetailUser(objUser: item))
            {
                // call ItemUser in order to display data
                ItemUser(objUser: item)
            }
        }.navigationBarTitle("Dynamic List")
    }
}
Now, if we run the application, this will be the result: