
In this post, we will see how to create a WebAPI application with ASP.NET 5.0.
For all information about ASP.NET Core 5, we can check the Microsoft Web Site.
[VISUAL STUDIO]
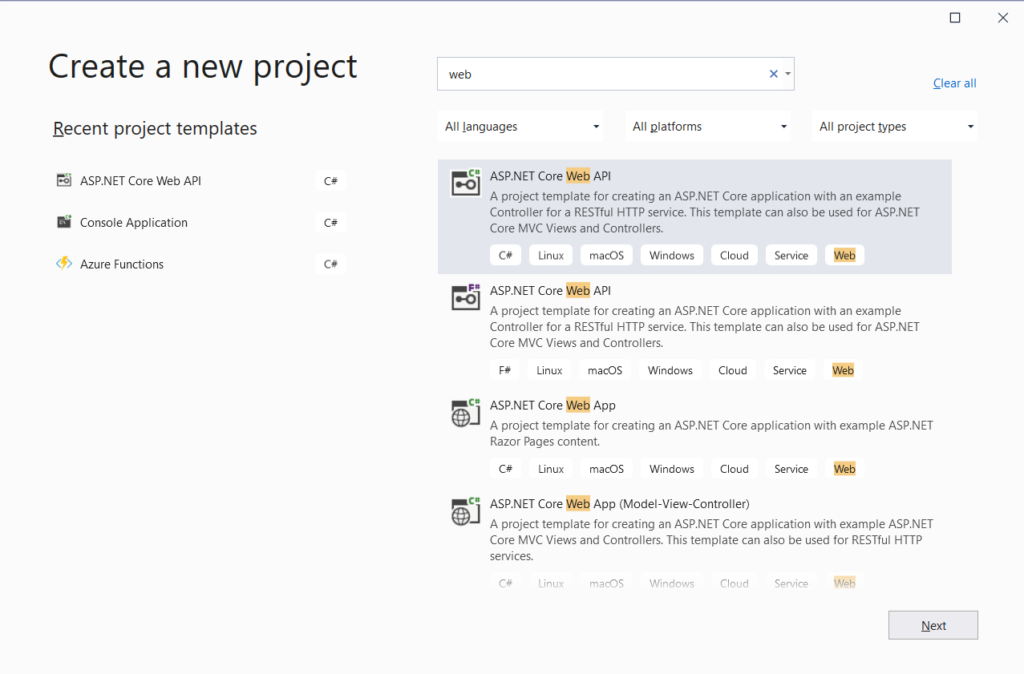
We open Visual Studio and we select ASP.NET Core Web Api project:
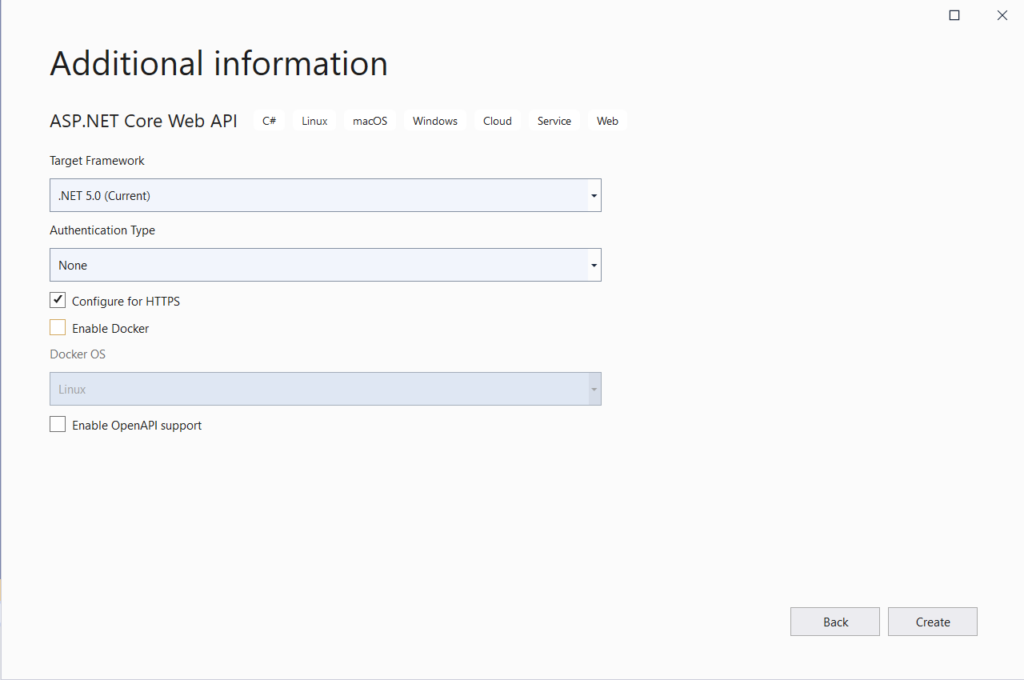
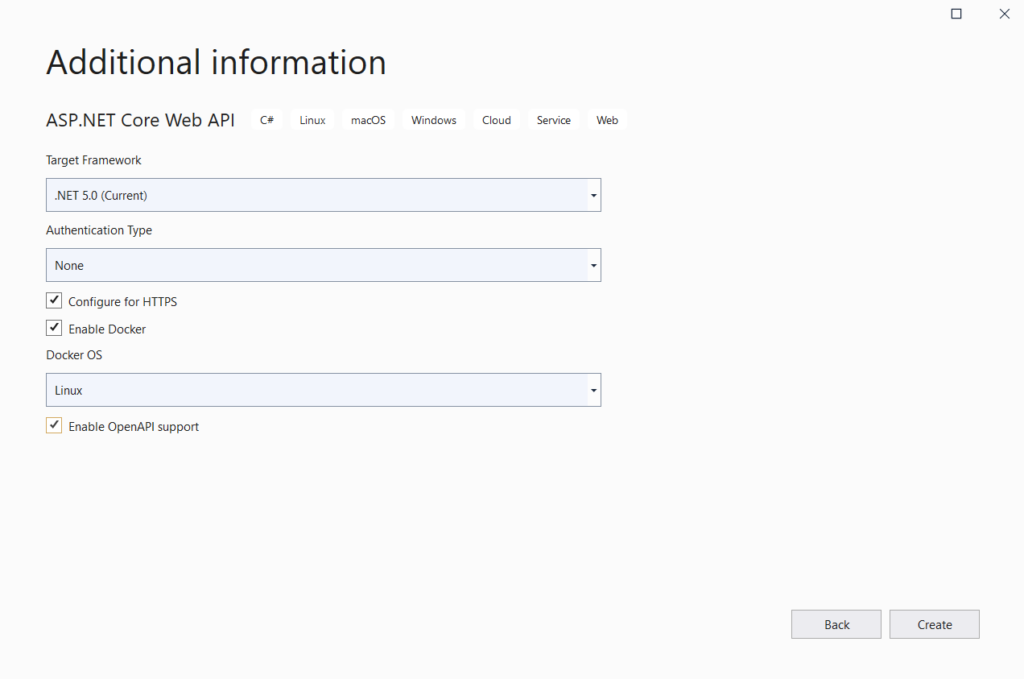
In Additional information, we can decide to Enable Docker and Enable OpenAPI support.
With Enable Docker checked, we will have in the project the support for Docker instead, with Enable OpeanAPI checked, we will add NuGet dependency for Swashbuckle (Swagger).
If we check the Startup.cs file, we will see the Swagger configuration:
[STARTUP.CS]
using Microsoft.AspNetCore.Builder;
using Microsoft.AspNetCore.Hosting;
using Microsoft.Extensions.Configuration;
using Microsoft.Extensions.DependencyInjection;
using Microsoft.Extensions.Hosting;
using Microsoft.OpenApi.Models;

namespace TestWebAPI
{
    public class Startup
    {
        public Startup(IConfiguration configuration)
        {
            Configuration = configuration;
        }

        public IConfiguration Configuration { get; }

        // This method gets called by the runtime. Use this method to add services to the container.
        public void ConfigureServices(IServiceCollection services)
        {

            services.AddControllers();
            services.AddSwaggerGen(c =>
            {
                c.SwaggerDoc("v1", new OpenApiInfo { Title = "TestWebAPI", Version = "v1" });
            });
        }

        // This method gets called by the runtime. Use this method to configure the HTTP request pipeline.
        public void Configure(IApplicationBuilder app, IWebHostEnvironment env)
        {
            if (env.IsDevelopment())
            {
                app.UseDeveloperExceptionPage();
                app.UseSwagger();
                app.UseSwaggerUI(c => c.SwaggerEndpoint("/swagger/v1/swagger.json", "TestWebAPI v1"));
            }

            app.UseHttpsRedirection();

            app.UseRouting();

            app.UseAuthorization();

            app.UseEndpoints(endpoints =>
            {
                endpoints.MapControllers();
            });
        }
    }
}
instead, for Docker support, we will have a dockerfile
[DOCKERFILE]
#See https://aka.ms/containerfastmode to understand how Visual Studio uses this Dockerfile to build your images for faster debugging.

FROM mcr.microsoft.com/dotnet/aspnet:5.0 AS base
WORKDIR /app
EXPOSE 80
EXPOSE 443

FROM mcr.microsoft.com/dotnet/sdk:5.0 AS build
WORKDIR /src
COPY ["TestWebAPI.csproj", "."]
RUN dotnet restore "./TestWebAPI.csproj"
COPY . .
WORKDIR "/src/."
RUN dotnet build "TestWebAPI.csproj" -c Release -o /app/build

FROM build AS publish
RUN dotnet publish "TestWebAPI.csproj" -c Release -o /app/publish

FROM base AS final
WORKDIR /app
COPY --from=publish /app/publish .
ENTRYPOINT ["dotnet", "TestWebAPI.dll"]
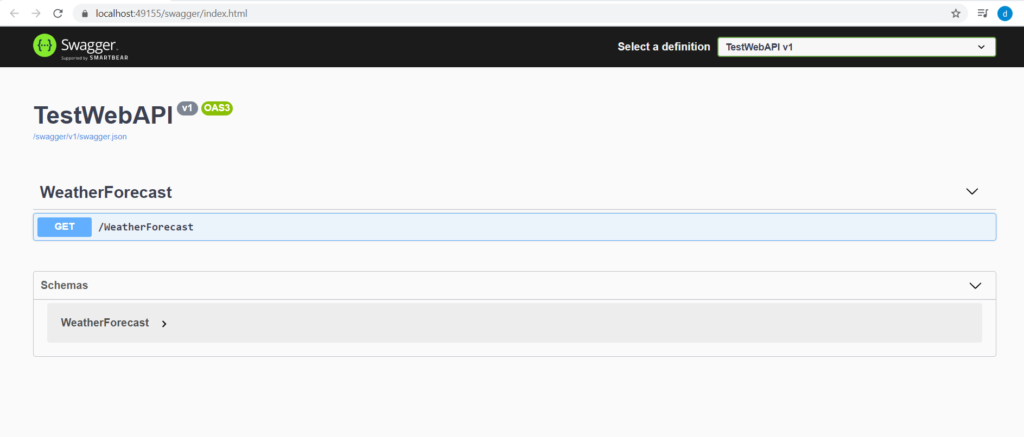
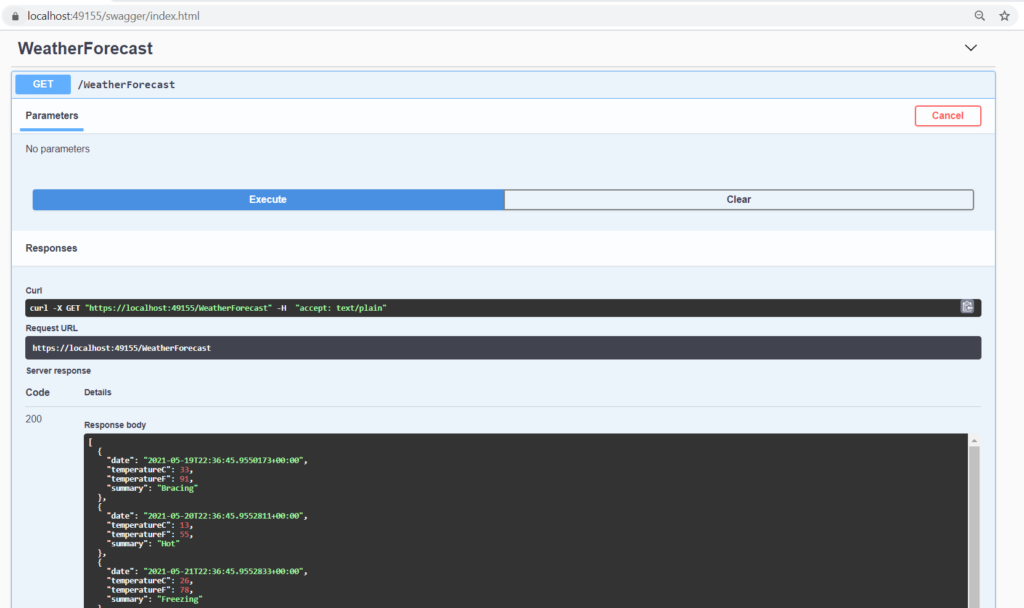
Now, if we run the application, this will be the result:
[.NET CLI]
The .NET command-line interface (CLI) is a cross-platform toolchain for developing, building, running, and publishing .NET applications.
For all information, we can check the Microsoft web site.
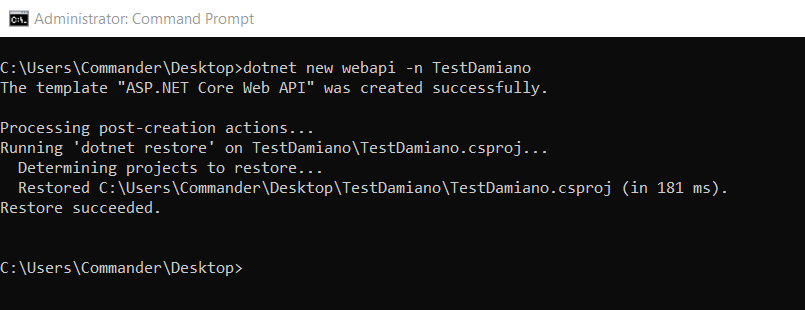
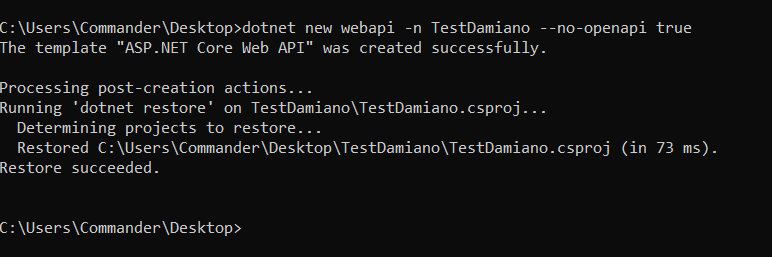
In order to create a Web API project (called TestDamiano) with the support at OpenAPI, we open a CMD window and we run the command dotnet new webapi -n TestDamiano:
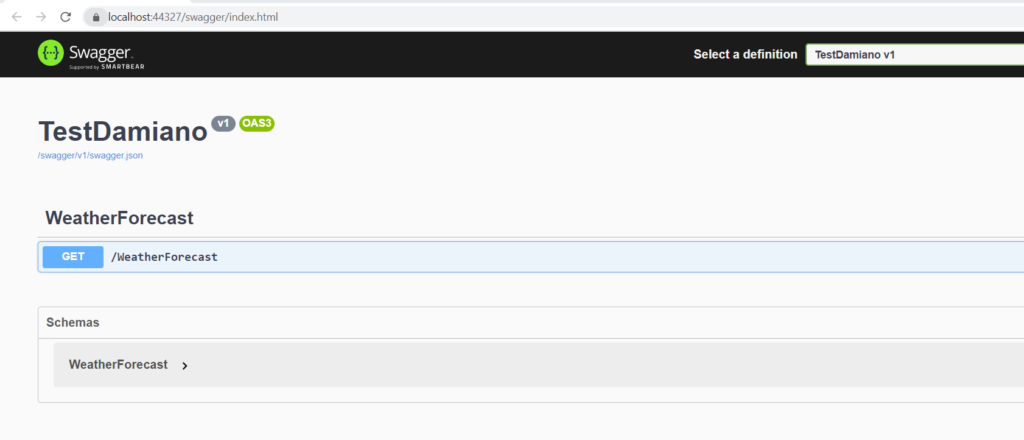
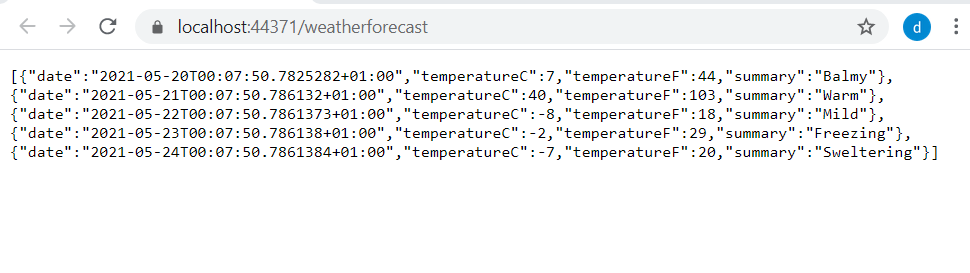
If we run the application, this will be the result:
If we don’t want to enable the OpenAPI support, we have to run the command dotnet new webapi -n TestDamiano –no-openapi true
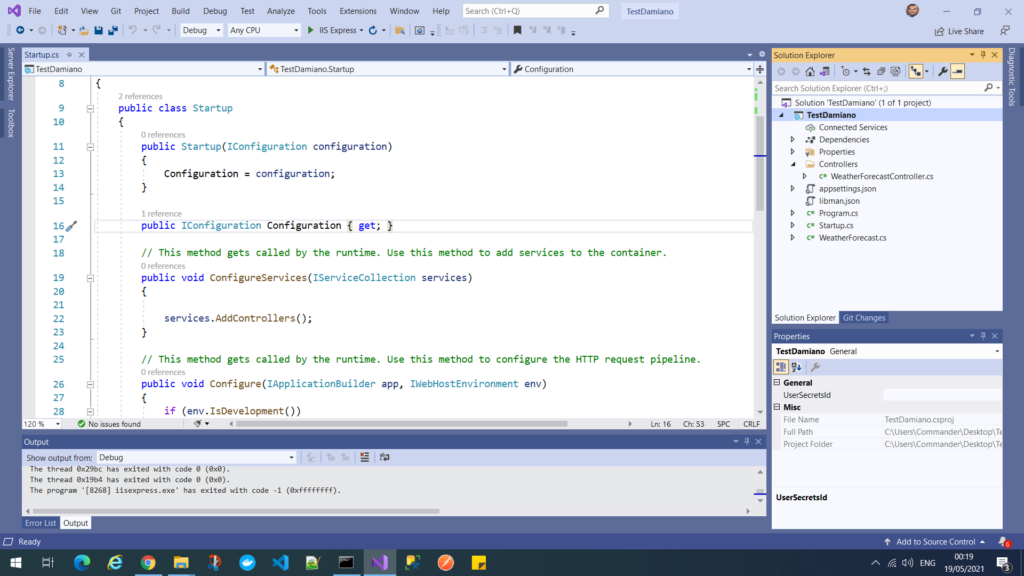
If we check the file Startup.cs, we will see that there isn’t any configuration for Swagger:
[STARTUP.CS]
using Microsoft.AspNetCore.Builder;
using Microsoft.AspNetCore.Hosting;
using Microsoft.Extensions.Configuration;
using Microsoft.Extensions.DependencyInjection;
using Microsoft.Extensions.Hosting;

namespace TestDamiano
{
    public class Startup
    {
        public Startup(IConfiguration configuration)
        {
            Configuration = configuration;
        }

        public IConfiguration Configuration { get; }

        // This method gets called by the runtime. Use this method to add services to the container.
        public void ConfigureServices(IServiceCollection services)
        {

            services.AddControllers();
        }

        // This method gets called by the runtime. Use this method to configure the HTTP request pipeline.
        public void Configure(IApplicationBuilder app, IWebHostEnvironment env)
        {
            if (env.IsDevelopment())
            {
                app.UseDeveloperExceptionPage();
            }

            app.UseHttpsRedirection();

            app.UseRouting();

            app.UseAuthorization();

            app.UseEndpoints(endpoints =>
            {
                endpoints.MapControllers();
            });
        }
    }
}
And, if we run the application, this will be the result:
In order to enable the Docker support, we have to click the right mouse button on the project name, we select add and finally we select Docker Support:

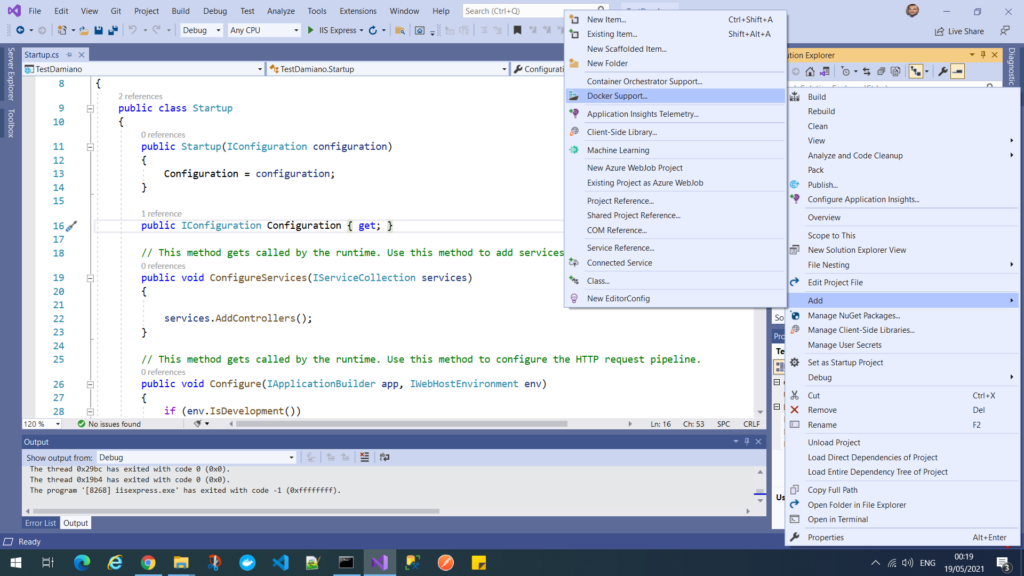
In this way, it will create the Docker support and it will add a Dockerfile in the project:
[DOCKERFILE]
#See https://aka.ms/containerfastmode to understand how Visual Studio uses this Dockerfile to build your images for faster debugging.

FROM mcr.microsoft.com/dotnet/aspnet:5.0 AS base
WORKDIR /app
EXPOSE 80
EXPOSE 443

FROM mcr.microsoft.com/dotnet/sdk:5.0 AS build
WORKDIR /src
COPY ["TestDamiano.csproj", "."]
RUN dotnet restore "./TestDamiano.csproj"
COPY . .
WORKDIR "/src/."
RUN dotnet build "TestDamiano.csproj" -c Release -o /app/build

FROM build AS publish
RUN dotnet publish "TestDamiano.csproj" -c Release -o /app/publish

FROM base AS final
WORKDIR /app
COPY --from=publish /app/publish .
ENTRYPOINT ["dotnet", "TestDamiano.dll"]