In this post, we will see how to create a Linux Virtual Machine on Windows 11, using Hyper-V.
First of all, we have to enable Hyper-V Manager.
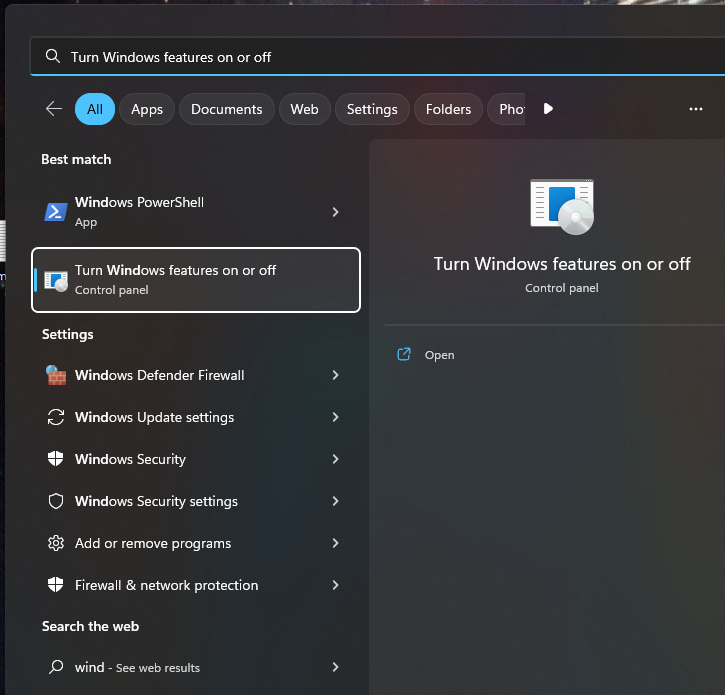
In order to do this, we open Windows Features:
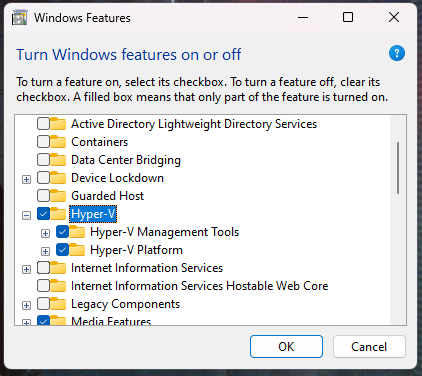
We check the “Hyper-V” features:
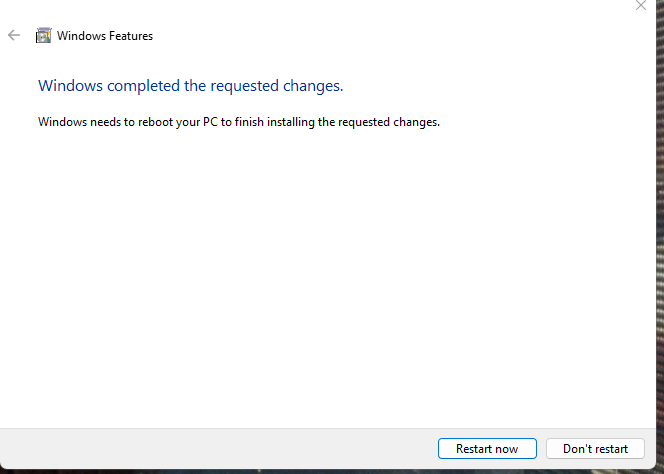
Then, we restart Windows:
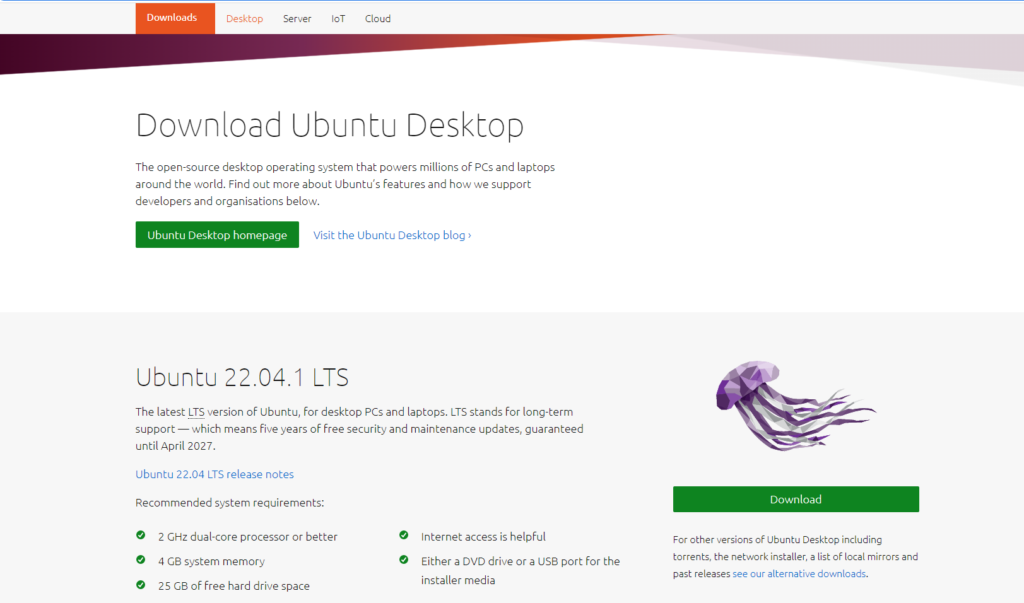
Finally, we download the latest version of Ubuntu from the web site: https://ubuntu.com/download/desktop:
Now, we are ready to create the virtual machine.
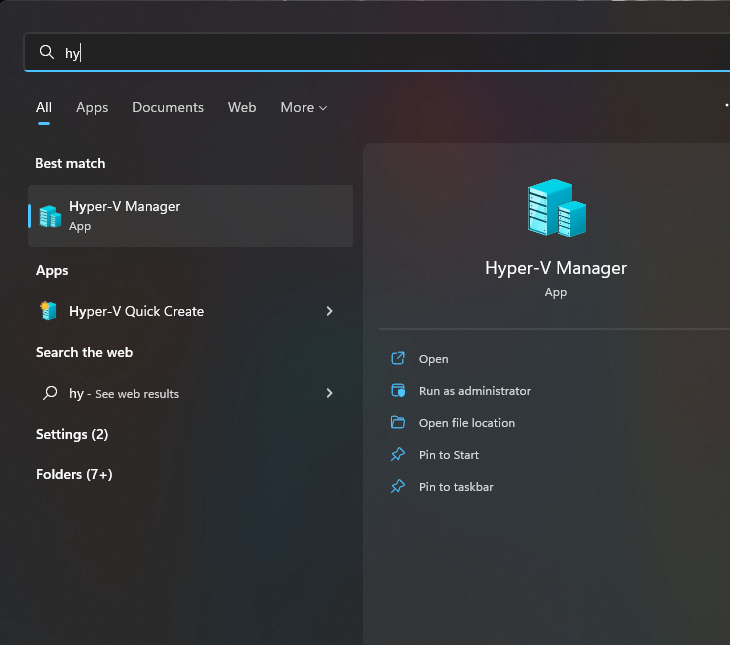
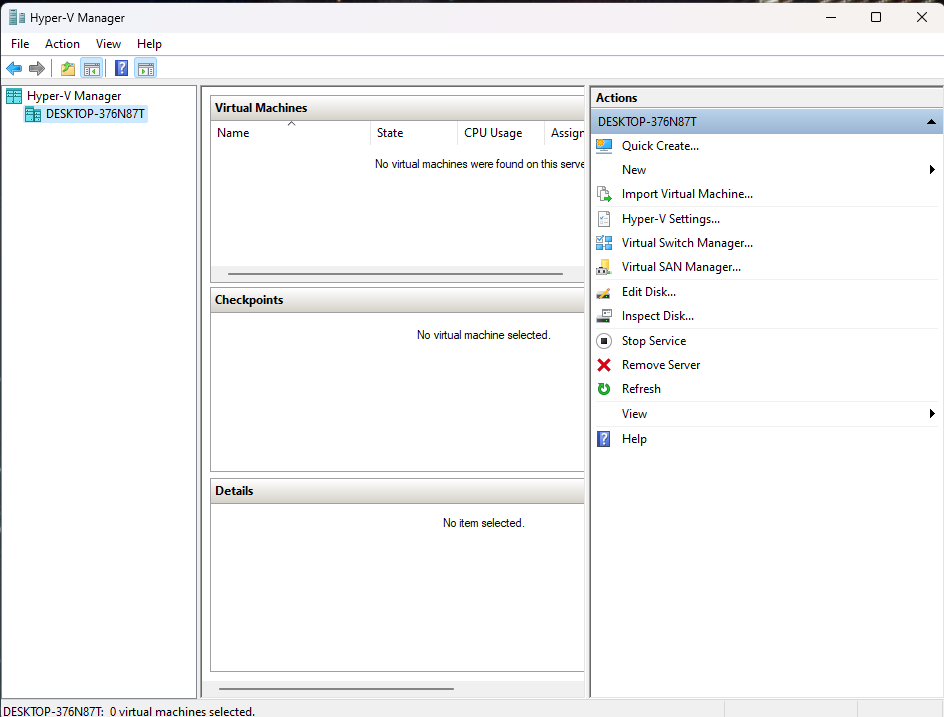
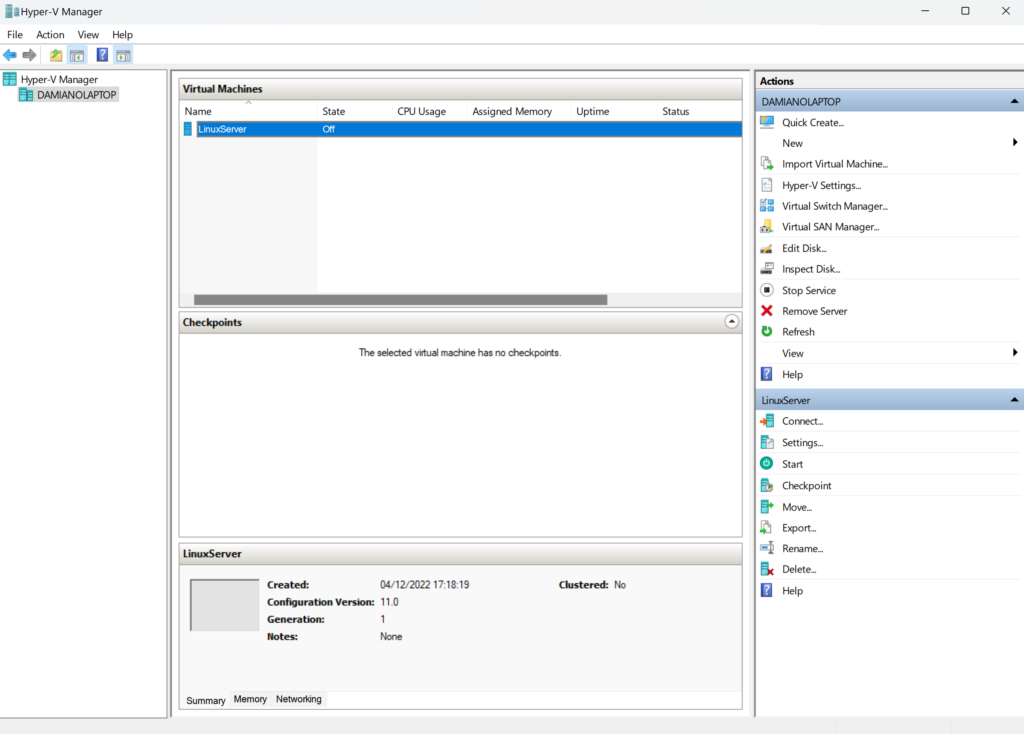
Open Hyper-V Manager:
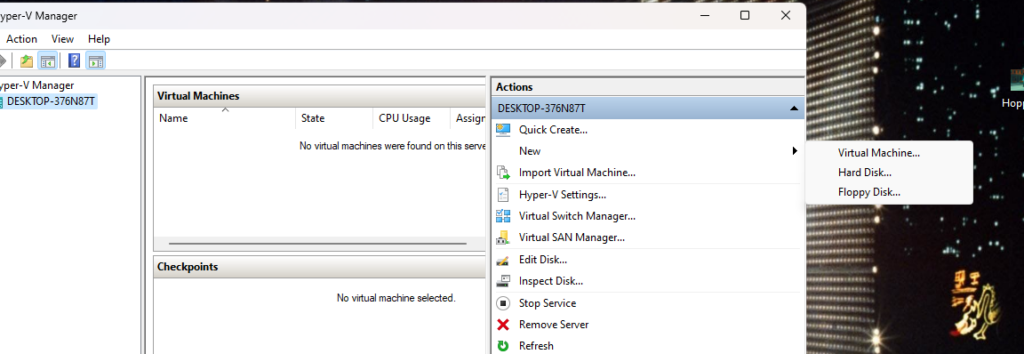
Select the option “New -> Virtual Machine…”:
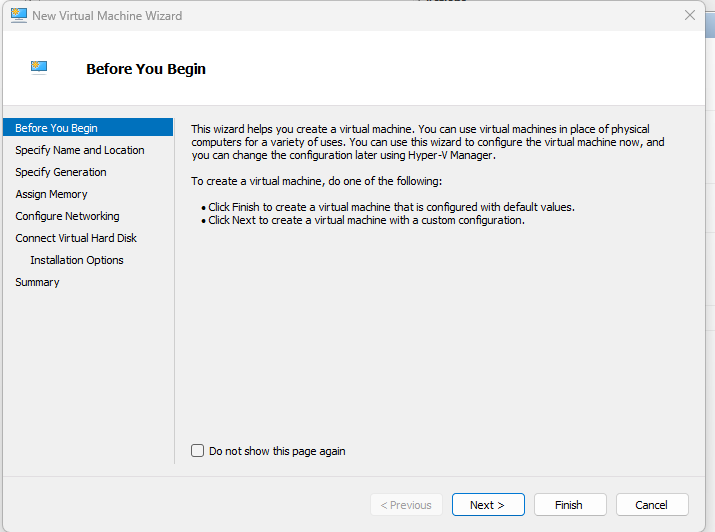
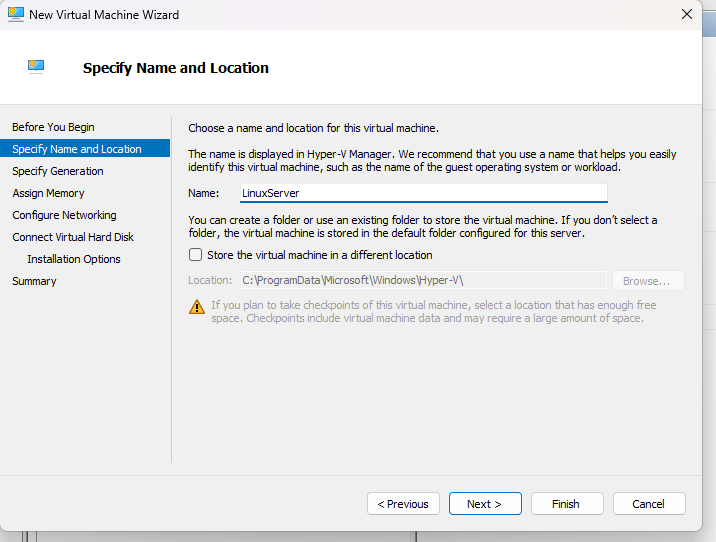
Enter the machine name:
Choose the virtual machine’s generation:

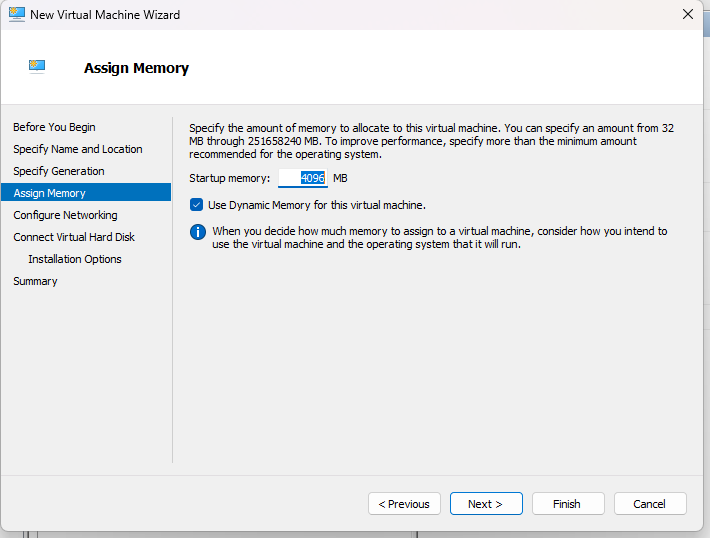
Enter the virtual machine’s memory:
Choose the connection:

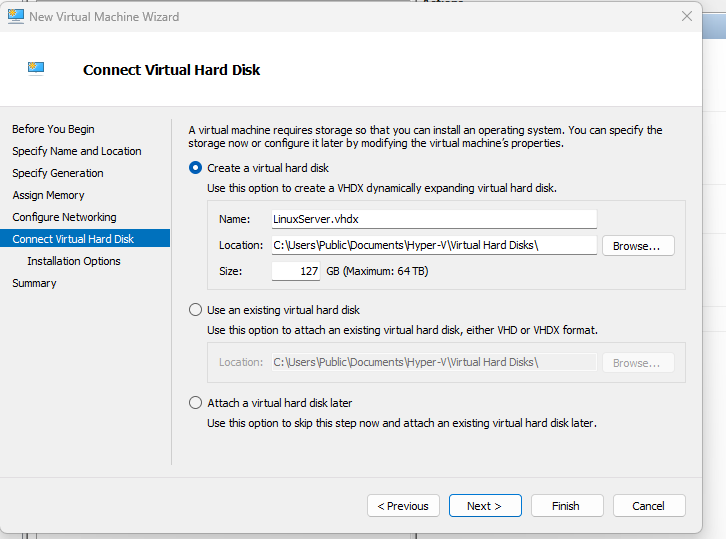
Create a virtual hard disk:
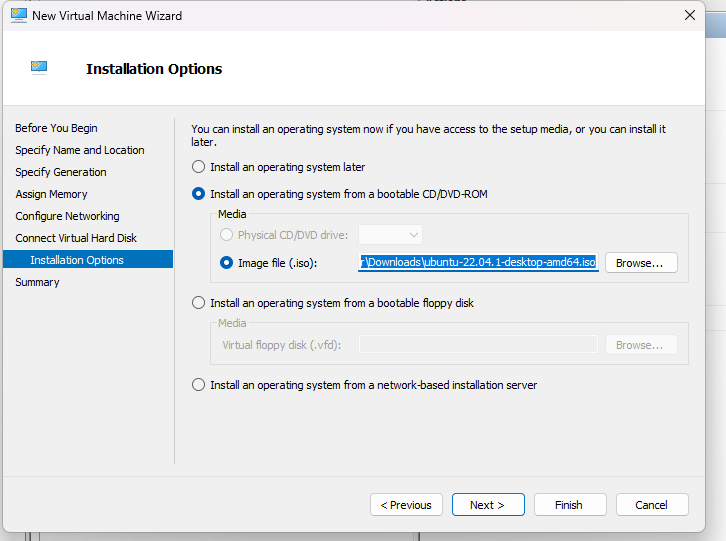
Choose where system can find the operating system to install:
Create the virtual machine:
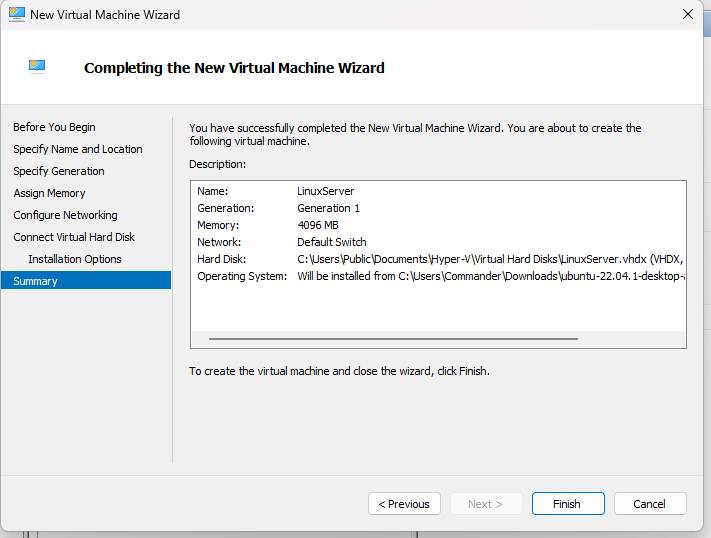
We have done and now, we can run the virtual machine and install Linux.
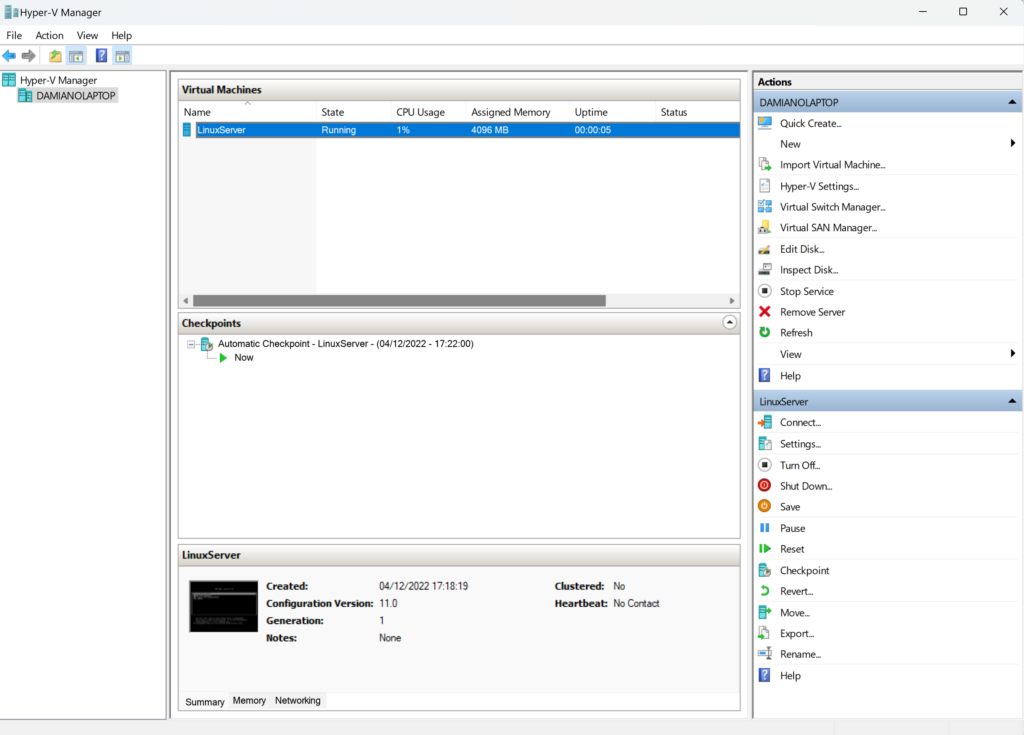
Select the virtual machine and click on ‘Start’:
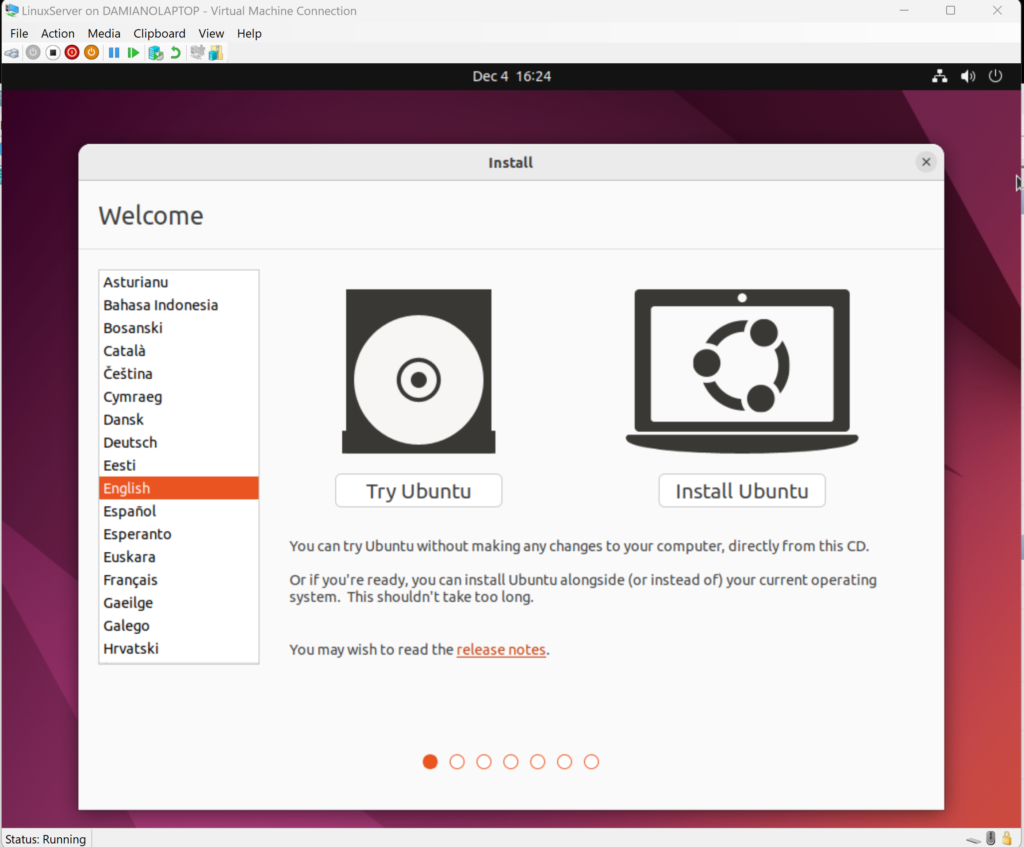
Install Linux:
After the Linux installation, if we run the virtual machine, this will be the result: