
In this post, we will see a brief introduction to Tkinter, a standard Python module that provides a convenient way to develop cross-platform desktop applications with a rich set of widgets and tools.
We will explore the basics of Tkinter and learn how to create a window, which serves as the foundation for building GUI applications.
Tkinter provides us with a variety of common GUI elements which we can use to build out interface such as buttons, menus and various kind of entry fields and display areas; we call these elements Widgets.
For all information about Tkinter, we can consult the official web site.
Let’s get started by understanding the key elements of a Tkinter window and the steps involved in creating one.
CREATING A WINDOW:
# import tkinter
import tkinter as tk

# Create the main window
window = tk.Tk()

# Set the window title
window.title("My First Tkinter Window")

# Set the window size
window.geometry("800x600")

# Start the Tkinter event loop
window.mainloop()
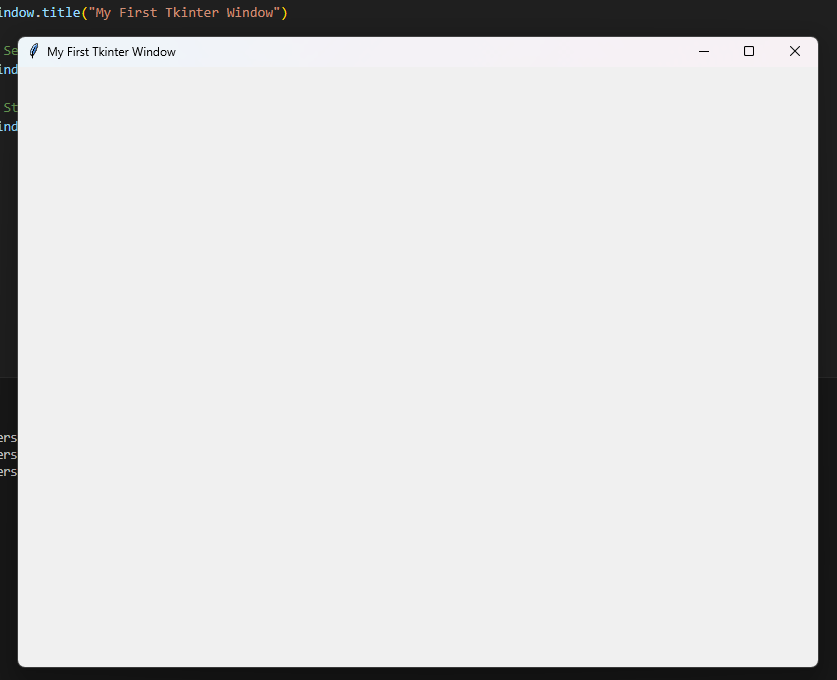
The code is simple and easy to understand.
I want just to give some additional information about “window.mainloop”: this event loop continuously listens for user interactions, such as button clicks or mouse movements, and updates the GUI accordingly.
If we run the file, the following will be the result:
ADDING AND POSITING LABELS:
# import tkinter
import tkinter as tk
# Create the main window
window = tk.Tk()
# Set the window title
window.title("My First Tkinter Window")
# Set the window size
window.geometry("800x600")
# Definition of three labels
label1 = tk.Label(window, text="Label1")
label2 = tk.Label(window, text="Label2")
label3 = tk.Label(window, text="Label3")
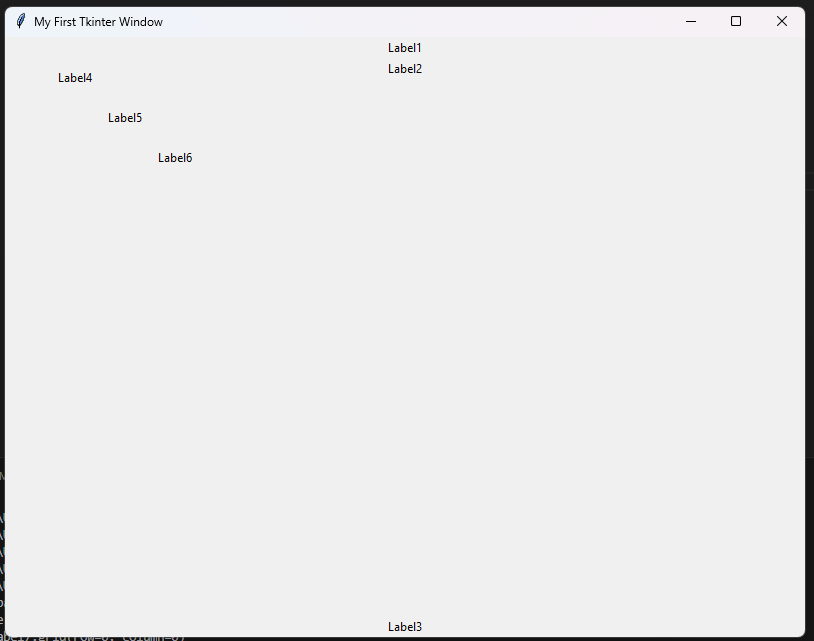
# We position the labels using PACK
# (It arranges widgets in a single, non-overlapping vertical or horizontal line.)
label1.pack() # Default side is 'top'
label2.pack(fill="x") # Fill horizontally
label3.pack(side="bottom") # Place at the bottom
# Definition of other three labels
label4 = tk.Label(window, text="Label4")
label5 = tk.Label(window, text="Label5")
label6 = tk.Label(window, text="Label6")
# We position the labels using PLACE
# (It allows us to precisely position widgets using pixel coordinates within
# a container, such as a frame or window.)
label4.place(x=50, y=30)
label5.place(x=100, y=70)
label6.place(x=150, y=110)
# Start the Tkinter event loop
window.mainloop()
If we run the file, the following will be the result:
Another way to position a Label is using GRID:
# import tkinter
import tkinter as tk

# Create the main window
window = tk.Tk()

# Set the window title
window.title("My First Tkinter Window")

# Set the window size
window.geometry("800x600")

# Definition of three labels
label7 = tk.Label(window, text="Label7")
label8 = tk.Label(window, text="Label8")
label9 = tk.Label(window, text="Label9")

# We position the labels using GRID
# (It allows us to organize widgets in a grid-like fashion within a container,
# with rows and columns.)
label7.grid(row=0, column=0)
label8.grid(row=1, column=1)
label9.grid(row=2, column=2)

# Start the Tkinter event loop
window.mainloop()
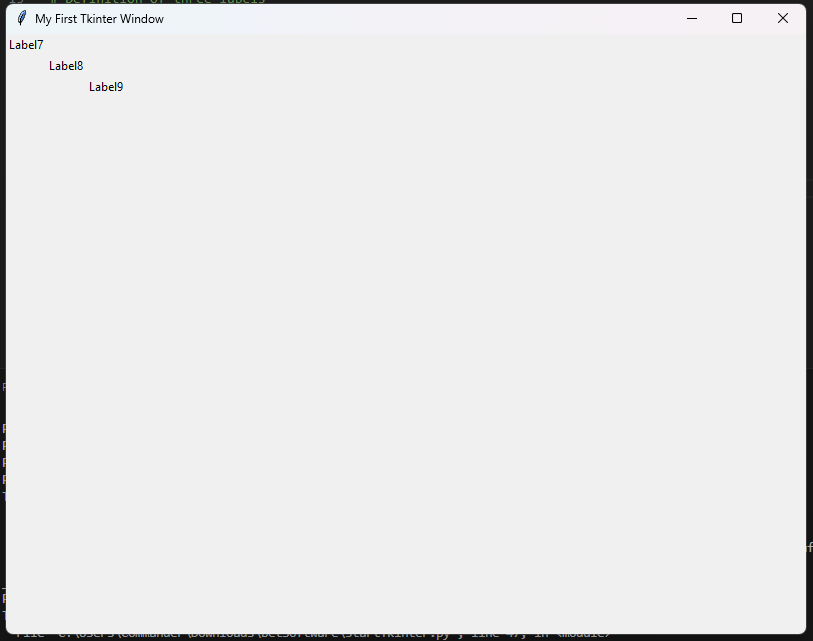
It is important to highlight that Pack, Place and Grid are used to position all other widgets.
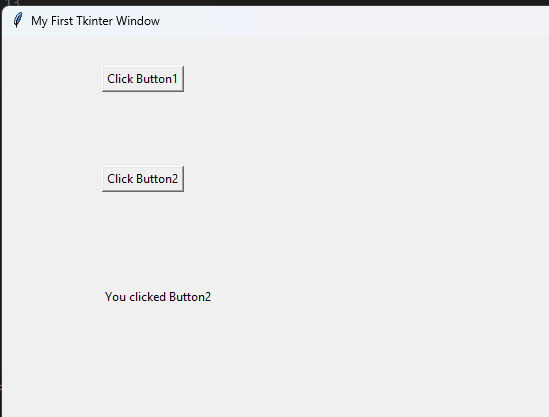
ADDING BUTTONS:
# import tkinter
import tkinter as tk
# Create the main window
window = tk.Tk()
# Set the window title
window.title("My First Tkinter Window")
# Set the window size
window.geometry("800x600")
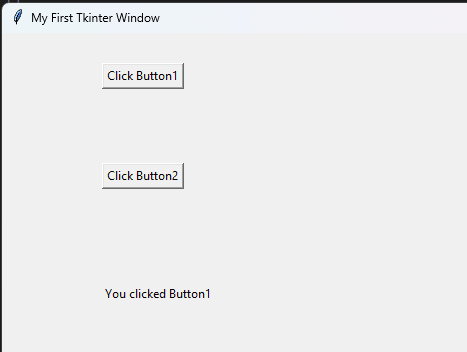
def showMessage(text):
# Update the label's text
label1.config(text=f"You clicked {text}")
# Definition of two buttons
button1 = tk.Button(window, text="Click Button1",
command=lambda: showMessage('Button1'))
button2 = tk.Button(window, text="Click Button2",
command=lambda: showMessage('Button2'))
button1.place(x=100, y=30)
button2.place(x=100, y=130)
# Definition of a Label used to show which button has been pressed
label1 = tk.Label(window, text="")
label1.place(x=100, y=250)
# Start the Tkinter event loop
window.mainloop()
If we run the file, the following will be the result:
For this post we have done.
In the next posts, we will see how to create more complex UI using Tkinter.