
In this post, we will see how to use a local LLM in Python with LM Studio.
In the previous post, we saw what LM Studio is, how to install it and how to download and run local models like Gemma 4 12B QAT directly from the user interface.
Now, we will see how to call the model from a Python application, using the local API server that LM Studio exposes on our machine.
But first of all, why should we call a local LLM from Python?
“When we use the LM Studio chat interface, we can only interact with the model manually. But the real power of a local LLM comes when we can use it inside our applications: scripts, automations, backend services or data pipelines. LM Studio makes this very easy because it exposes an OpenAI compatible API server. This means that we can call our local model using the same request format used by the OpenAI API, and we can even reuse the official OpenAI Python library, simply pointing it to our local machine instead of the OpenAI servers.
Finally, because everything runs locally, our prompts and our data never leave our computer.“
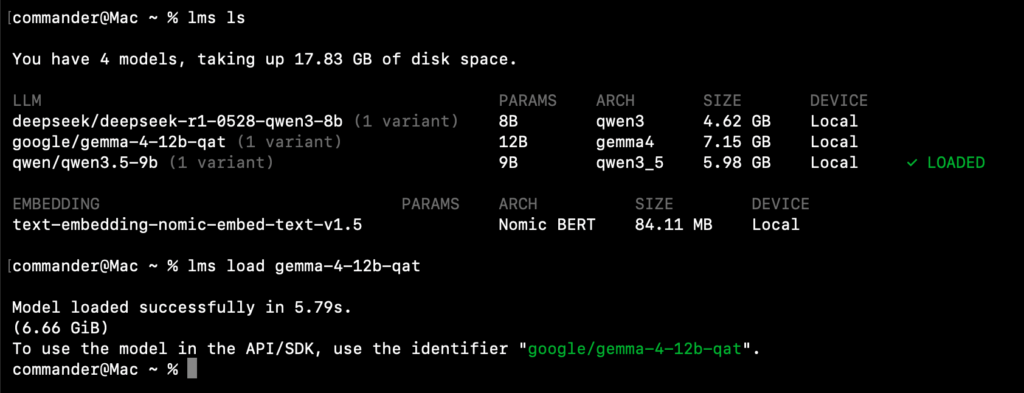
First, we open LM Studio and we load the model.
We can do it from the UI, selecting the model from the top bar, or from the terminal using the LM Studio CLI:
lms load gemma-4-12b-qat
Second, we start the local API server.
From the UI, we go to the Developer tab and we click on Start Server.
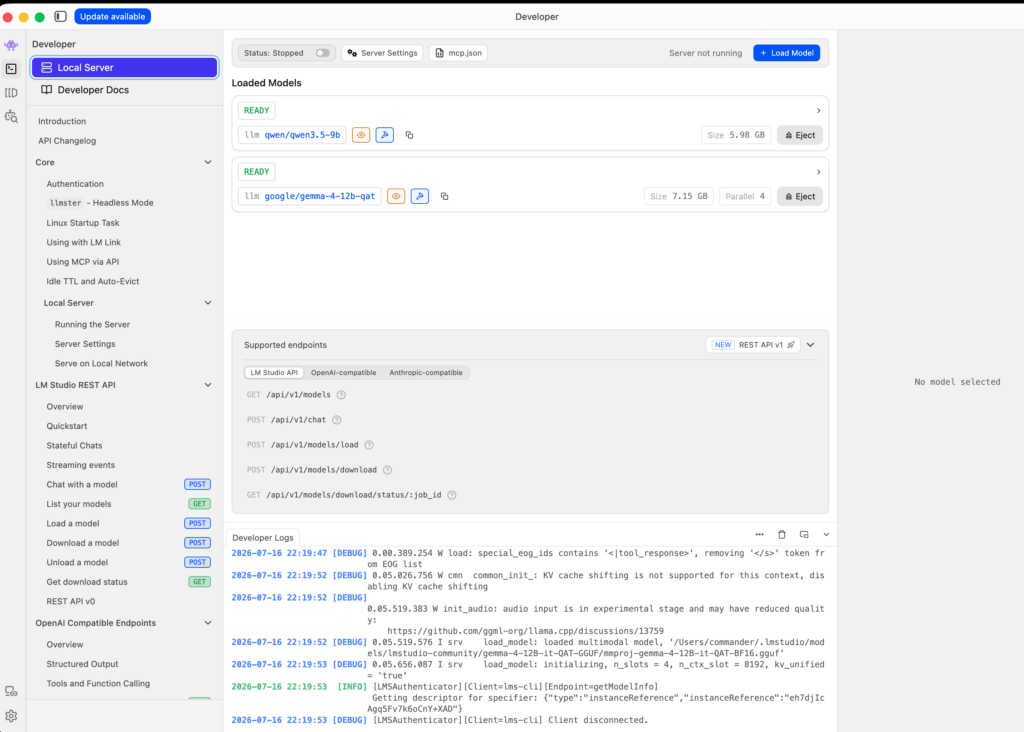
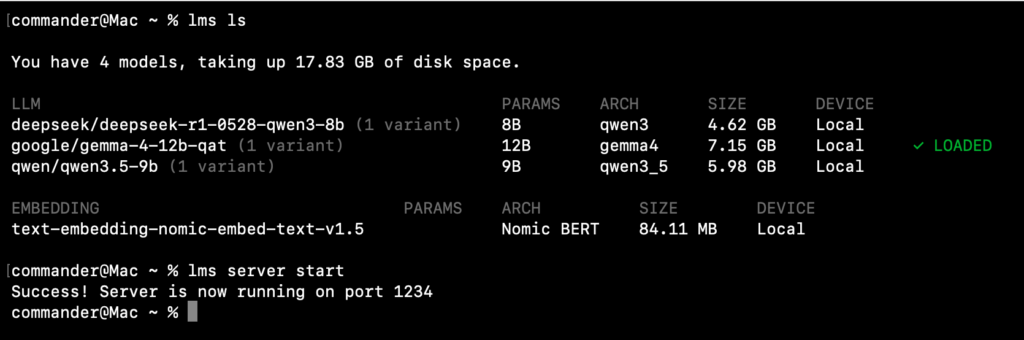
Otherwise, from the terminal, we can run:
lms server start
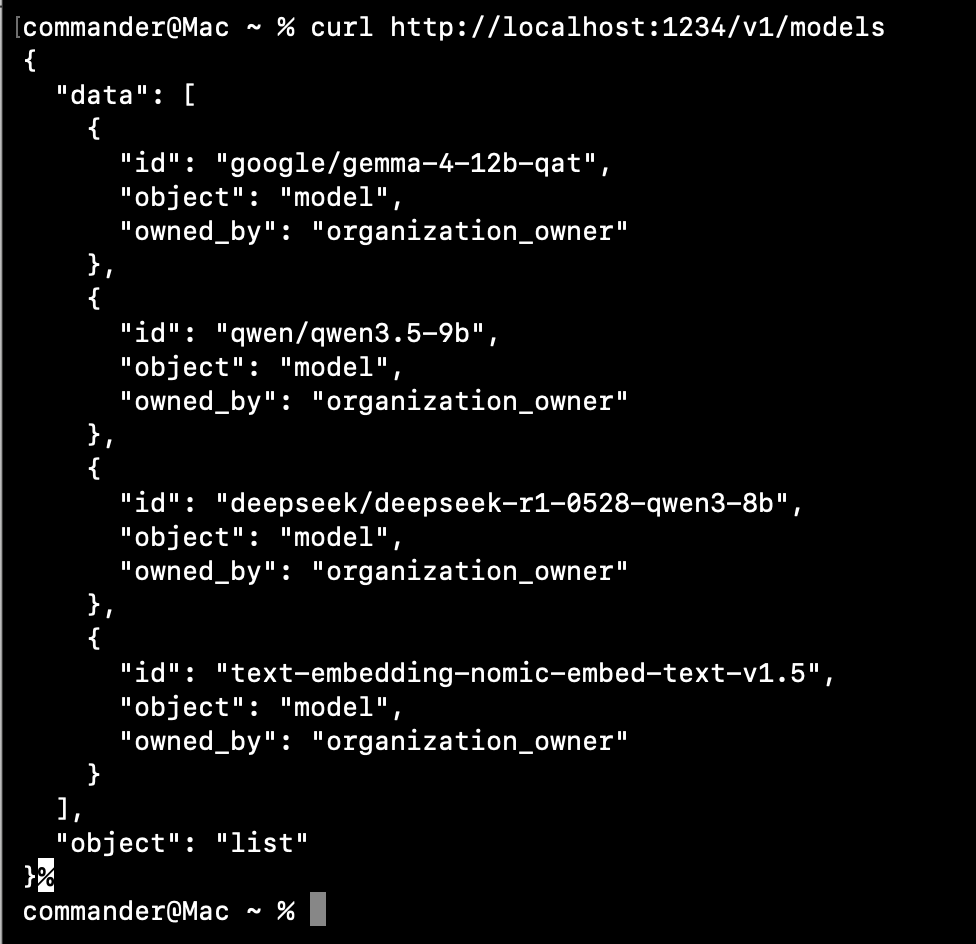
In order to verify that everything works, we can call the endpoint that return the list of the available models:
curl http://localhost:1234/v1/models
The endpoints exposed by the LM Studio local server are:
GET  /v1/models             -> list of the available models
POST /v1/chat/completions   -> chat with the model (the one we will use)
POST /v1/completions        -> text completion (legacy style)
POST /v1/embeddings         -> generate embeddings
The most important one is POST http://localhost:1234/v1/chat/completions, that it will be the endpoint that we will call from Python to send our prompts to the model.
Environment Setup
Now, we can prepare our Python environment.
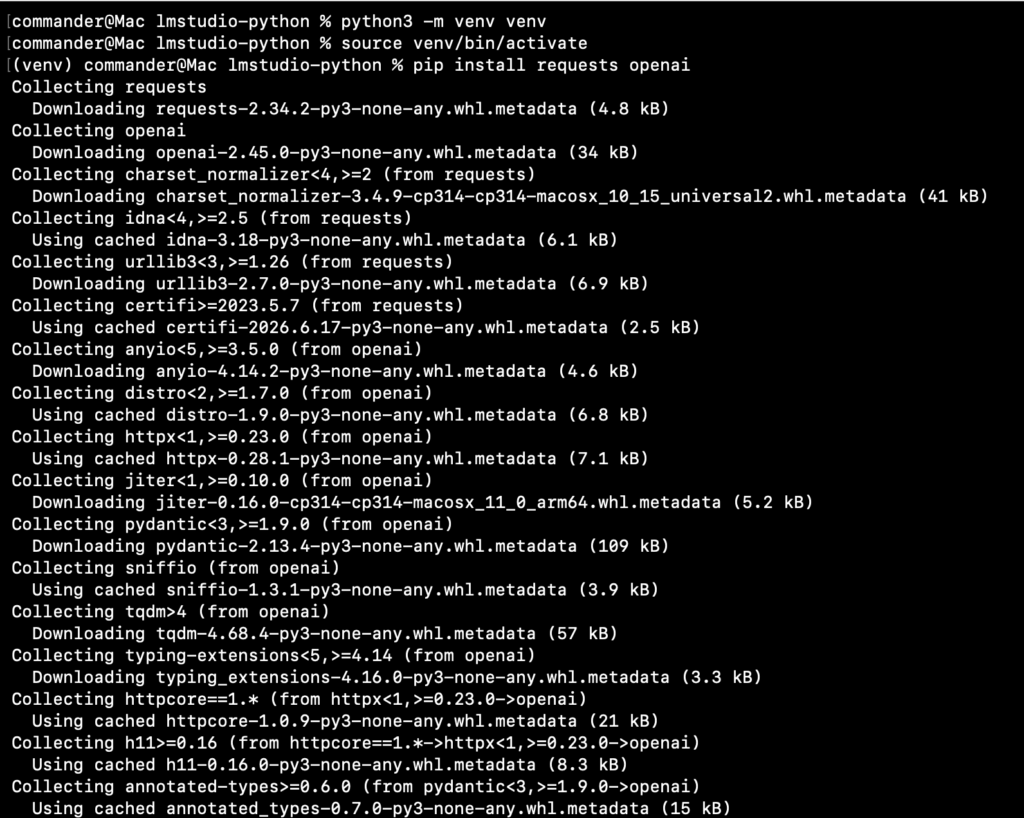
We create a new folder, a virtual environment and we install the libraries “requests” and “openai”:
mkdir lmstudio-python
cd lmstudio-python
python3 -m venv venv
source venv/bin/activate
pip install requests openai
Example 1 – Call the endpoint with requests:
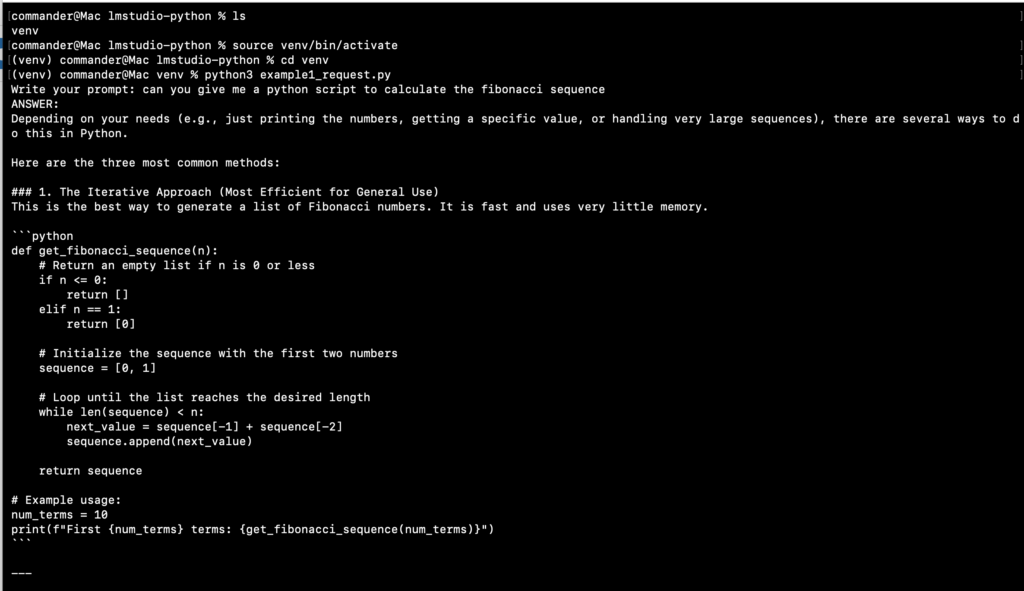
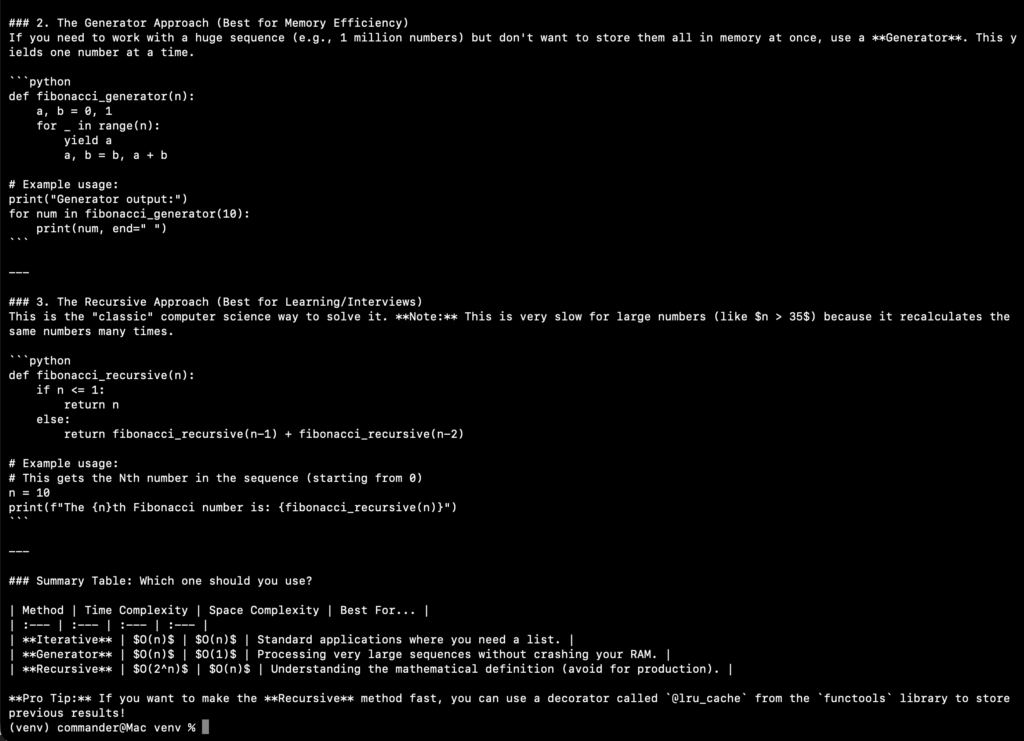
In this first example, we will call the chat/completions endpoint using only the requests library.
This is useful to understand what really happens under the hood, without any abstraction. We create a file called example1_request.py:
import requests
import json

# LM Studio's OpenAI-compatible chat completion endpoint.
# By default, LM Studio runs the local API server on port 1234.
URL = "http://localhost:1234/v1/chat/completions"

# Ask the user to enter any prompt.
user_prompt = input("Write your prompt: ")

# Request body sent to the local LLM.
payload = {
    # The model identifier must match the model name exposed by LM Studio.
    # You can check the available models at:
    # http://localhost:1234/v1/models
    "model": "gemma-4-12b-qat",

    # The conversation sent to the model.
    "messages": [
        # The system message defines the assistant's behaviour and context.
        {
            "role": "system",
            "content": "You are a helpful assistant for software developers."
        },

        # The user message contains the actual prompt.
        {
            "role": "user",
            "content": user_prompt
        }
    ],

    # Controls the creativity of the response.
    # Lower values produce more predictable answers, while higher values
    # produce more varied responses.
    "temperature": 0.7,

    # Maximum number of tokens that the model can generate.
    "max_tokens": 8000,
    "stream": True
}

# Send an HTTP POST request to the LM Studio endpoint.
response = requests.post(
    URL,
    json=payload,
    stream = True
)

# Raise an exception if the server returns an HTTP error,
# such as 400, 404 or 500.
response.raise_for_status()

print("ANSWER:")

# Read the response line by line as tokens arrive.
for line in response.iter_lines():
    # Skip empty keep-alive lines.
    if not line:
        continue

    # Each line looks like: b"data: {json...}"
    decoded = line.decode("utf-8")

    # Remove the "data: " prefix that SSE adds to every line.
    if decoded.startswith("data: "):
        decoded = decoded[len("data: "):]

    # LM Studio sends "data: [DONE]" when the generation is finished.
    if decoded.strip() == "[DONE]":
        break

    # Convert the JSON chunk into a dictionary.
    chunk = json.loads(decoded)

    # In streaming mode the text is inside "delta", not "message".
    delta = chunk["choices"][0]["delta"]
    content = delta.get("content", "")

    # Print the token immediately, without a newline, so the text
    # appears progressively like a real chat.
    print(content, end="", flush=True)

print()  # Final newline once the answer is complete.
Example 2 – Call the model with the OpenAI library:
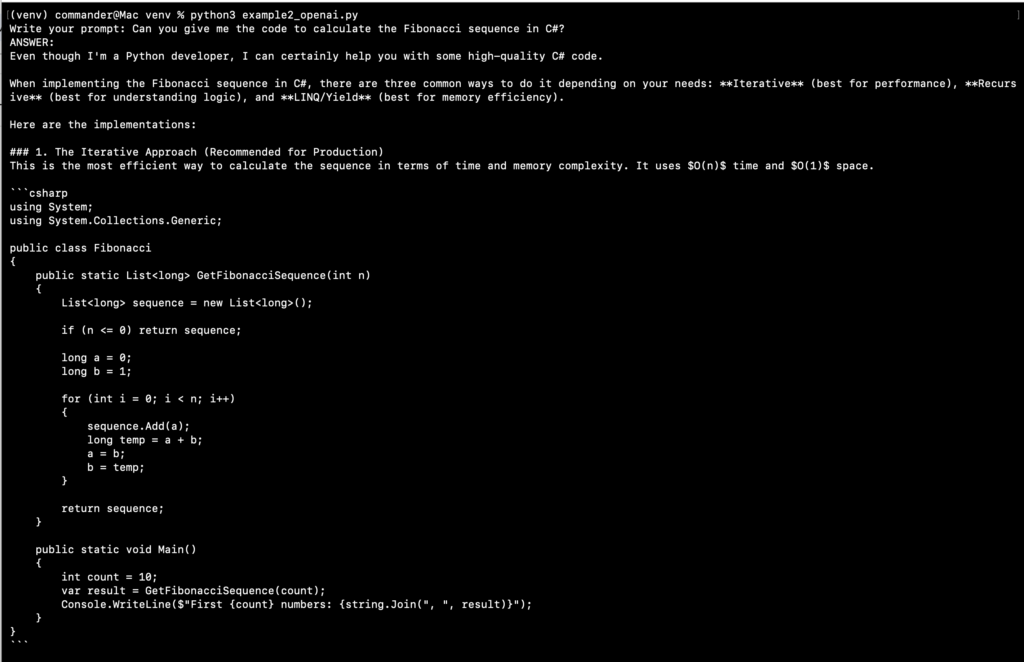
In this second example, we will use the official OpenAI Python library.
This is my favourite approach, because the code is cleaner and, if one day we want to switch from the local model to a cloud model, we only have to change the base URL and the API key.
We create a file called example2_openai.py:
from openai import OpenAI

client = OpenAI(
    base_url="http://localhost:1234/v1",
    api_key="lm-studio"  # LM Studio doesn't check the key, but the field is required
)

# Ask the user to enter any prompt.
user_prompt = input("Write your prompt: ")

# With stream=True, the OpenAI library returns an iterator of chunks
# instead of a single complete response.
stream = client.chat.completions.create(
    model="gemma-4-12b-qat",
    messages=[
        {"role": "system", "content": "You are a senior Python developer."},
        {"role": "user", "content": user_prompt}
    ],
    temperature=0.2,
    stream=True
)

print("ANSWER:")

# Iterate over the chunks as soon as they arrive.
for chunk in stream:
    # In streaming mode the text is inside "delta", not "message".
    content = chunk.choices[0].delta.content

    # Some chunks (like the very first or the last) have no content,
    # so we skip them to avoid printing "None".
    if content:
        # Print the token immediately, without a newline, so the text
        # appears progressively like a real chat.
        print(content, end="", flush=True)

print()  # Final newline once the answer is complete.
LM Studio makes it very easy to use a local LLM inside a Python application.
Thanks to the OpenAI compatible API server, we can call our local model with a simple HTTP request or with the official OpenAI library, without changing the way we usually write our code.
In my opinion, this is the best part of LM Studio: we can develop and test our AI features locally, for free and with full privacy, and then, if needed, move to a cloud model changing only the base URL and the model name.