
In this post, we will see how to use SQLite in an iOS project.
In detail, we will use SQLite in the same application created in the post: Swift – Core Data.
First of all, we have to add SQLite.swift in our project to simplify the process of working with SQLite databases:
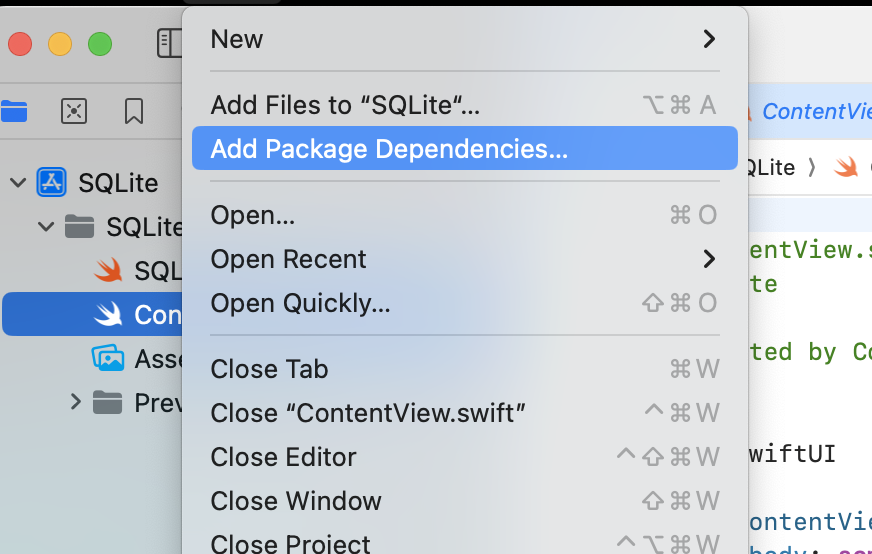
Go to File -> Add Package Dependencies:
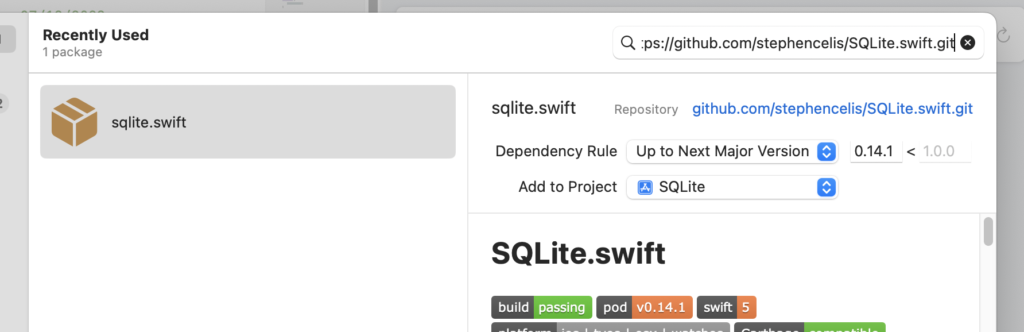
Enter the SQLite.swift repository URL -> https://github.com/stephencelis/SQLite.swift.git:
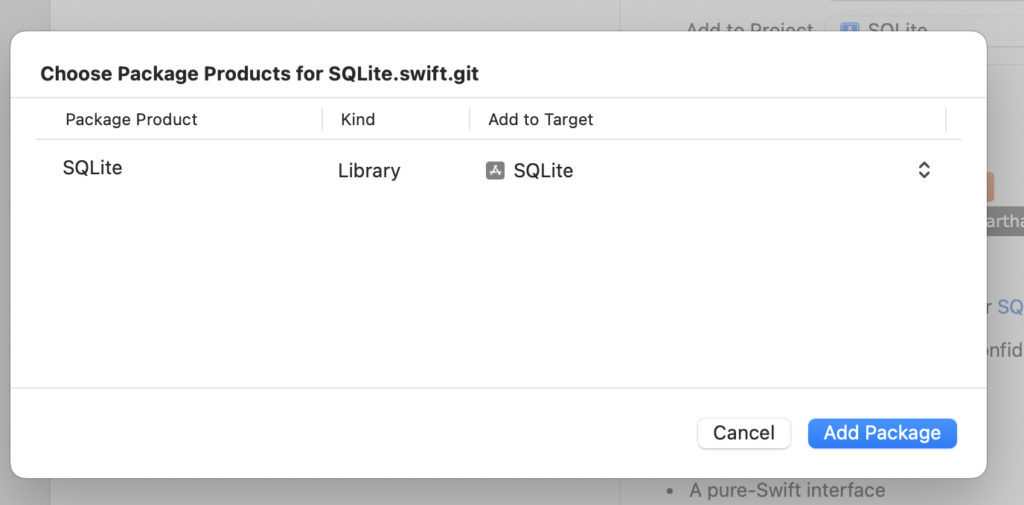
Add the package:
Now, using the MVVM pattern, we will develop the application:
[MODEL – USER.SWIFT]
Our model revolves around a User struct and a UserDatabase class to handle SQLite operations.
The UserDatabase class encapsulates all the SQLite logic, ensuring that our database interactions are kept separate from the UI logic.
import SQLite
import Foundation

// Define a User struct that will represent a user in the database.
struct User {
    let id: Int64? // Optional because a new user won't have an ID until saved into the database
    var name: String
    var surname: String
}

// Define a UserDatabase class to handle interactions with the SQLite database.
class UserDatabase {
    // Connection object to interact with the SQLite database.
    private let db: Connection

    // Define a Table instance which refers to the 'users' table in the database.
    private let users = Table("users")

    // Define expressions for the columns of the users table.
    private let id = Expression<Int64>("id")
    private let name = Expression<String>("name")
    private let surname = Expression<String>("surname")

    // Initialize the UserDatabase.
    init() {
        // Get the path to the documents directory to store the database file.
        let path = NSSearchPathForDirectoriesInDomains(
            .documentDirectory, .userDomainMask, true
        ).first!

        // Create a connection to the database file.
        db = try! Connection("\(path)/db.sqlite3")

        // Setup the users table.
        setupTable()
    }

    // Create the users table if it does not exist.
    private func setupTable() {
        try! db.run(users.create(ifNotExists: true) { t in
            t.column(id, primaryKey: true) // ID is the primary key.
            t.column(name)
            t.column(surname)
        })
    }

    // Add a new user to the database.
    func add(user: User) -> Int64? {
        // Prepare the insert query.
        let insert = users.insert(name <- user.name, surname <- user.surname)
        // Execute the insert query and return the new row ID.
        return try? db.run(insert)
    }

    // Retrieve all users from the database.
    func getAllUsers() -> [User] {
        var usersList = [User]()
        // Prepare the select query.
        for user in try! db.prepare(users) {
            // Create User instances for each row and append them to the usersList array.
            usersList.append(User(id: user[id], name: user[name], surname: user[surname]))
        }
        return usersList
    }

    // Update an existing user's information in the database.
    func updateUser(user: User) {
        // Ensure the user has an ID (i.e., it exists in the database).
        if let userId = user.id {
            // Filter the users table to the specific user by ID.
            let userRow = users.filter(id == userId)
            // Prepare the update query.
            try? db.run(userRow.update(name <- user.name, surname <- user.surname))
        }
    }

    // Delete a user from the database.
    func deleteUser(user: User) {
        // Ensure the user has an ID (i.e., it exists in the database).
        if let userId = user.id {
            // Filter the users table to the specific user by ID.
            let userRow = users.filter(id == userId)
            // Execute the delete query.
            try? db.run(userRow.delete())
        }
    }
}
[VIEW MODEL – USERVIEWMODEL.SWIFT]
In this ViewModel, the core idea is to interact with the UserDatabase class for any CRUD operation and ensure the UI stays in sync with the underlying data by reloading the users array, which is marked with @Published. This causes any views observing this ViewModel to update accordingly.
The DispatchQueue.main.async is used to make sure that UI updates are performed on the main thread, which is a requirement in SwiftUI.
import Foundation
import Combine

// Define the UsersViewModel class which will be used by SwiftUI views to interact with the data.
class UsersViewModel: ObservableObject {
    // Published property 'users' that will trigger UI updates when changed.
    @Published var users = [User]()

    // Reference to the UserDatabase that handles the database operations.
    private let database: UserDatabase

    // Initialize the ViewModel, optionally with a specific database instance.
    // This allows for dependency injection which is useful for testing.
    init(database: UserDatabase = UserDatabase()) {
        self.database = database
        // Load the users from the database when the ViewModel is initialized.
        loadUsers()
    }

    // Function to load users from the database and update the 'users' array.
    func loadUsers() {
        // Dispatch to the main thread to ensure UI updates happen on the main thread.
        DispatchQueue.main.async {
            // Get all users from the database and assign them to the 'users' property.
            self.users = self.database.getAllUsers()
        }
    }

    // Function to add a new user with given name and surname.
    func addUser(name: String, surname: String) {
        // Create a new User instance.
        let newUser = User(id: nil, name: name, surname: surname)
        // Add the user to the database.
        _ = database.add(user: newUser)
        // Reload users from the database to update the UI.
        loadUsers()
    }

    // Overloaded function to add a new user with a User instance.
    // This could be used when you already have a User instance ready to be saved.
    func addUser(newUser: User) {
        // Perform database operations asynchronously to avoid blocking the main thread.
        DispatchQueue.main.async {
            // Add the user to the database.
            self.database.add(user: newUser)
            // Reload users from the database to update the UI.
            self.loadUsers()
        }
    }

    // Function to delete a user.
    func deleteUser(user: User) {
        // Delete the user from the database.
        database.deleteUser(user: user)
        // Reload users from the database to update the UI.
        loadUsers()
    }

    // Function to update a user's information.
    func updateUser(user: User) {
        // Update the user in the database.
        database.updateUser(user: user)
        // Reload users from the database to update the UI.
        loadUsers()
    }
}
[VIEW – CONTENTVIEW.SWIFT]
This ContentView is the primary view that users will interact with. It lists all users and provides the ability to add new ones or edit existing ones. The .sheet modifier is used to present a modal view for creating a new user, and the .onDelete modifier allows for the deletion of users via a swipe-to-delete gesture on the list.
import SwiftUI

// Define the ContentView struct which will serve as the main view for our application.
struct ContentView: View {
    // Observe the UsersViewModel for changes to the users array.
    @ObservedObject var viewModel: UsersViewModel

    // State variable to control the visibility of the new user sheet.
    @State var showNewUser = false

    // The body of ContentView which provides the UI of this view.
    var body: some View {
        // Use NavigationStack to manage a stack of views that can be navigated.
        NavigationStack{
            // Use a List to display an array of items in a single column.
            List{
                // Iterate over the users array provided by the viewModel.
                ForEach(viewModel.users, id: \.id) { user in
                    // Provide a navigation link to edit a user which shows ManageUser view when tapped.
                    NavigationLink(destination: ManageUser(user: user, viewModel: viewModel)) {
                        // VStack for aligning text to the leading edge.
                        VStack(alignment: .leading) {
                            // Display the user's name and surname.
                            Text("\(user.name) - \(user.surname)")
                                .font(.headline) // Set the font to headline for better visibility.
                        }
                    }
                }
                // Add functionality to delete a user when the user swipes to delete.
                .onDelete { indexSet in
                    // Check if the indexSet contains the index of the user to be deleted.
                    if let index = indexSet.first {
                        // Get the user at the specified index.
                        let user = viewModel.users[index]
                        // Call the deleteUser function on the viewModel to delete the user.
                        viewModel.deleteUser(user: user)
                    }
                }
            }
            // Set the title of the navigation bar.
            .navigationTitle("Users")
            // Add a button to the navigation bar that allows adding new users.
            .navigationBarItems(trailing: Button(action: {
                // Set showNewUser to true to show the new user sheet.
                showNewUser = true
            }, label: {
                // Use a system image with a plus sign inside a circle.
                Image(systemName: "plus.circle")
                    .imageScale(.large) // Increase the size of the image for better tap targets.
            }))

            // Present a sheet to add a new user when showNewUser is true.
            .sheet(isPresented: $showNewUser) {
                // The ManageUser view is shown with nil user to add a new user.
                ManageUser(user: nil, viewModel: viewModel)
            }
        }
    }
}
[MANAGEUSER.SWIFT]
This ManageUser view dynamically adjusts its behavior and presentation based on whether it’s being used to add a new user or edit an existing one. It takes advantage of SwiftUI’s state management to keep track of user input and updates the underlying model accordingly.
import SwiftUI

// Define a ManageUser view that handles both creating a new user and editing an existing user.
struct ManageUser: View {
    // Use the @Environment property to dismiss the view programmatically.
    @Environment(\.presentationMode) var presentationMode
    // Observe the UsersViewModel for any changes.
    @ObservedObject var viewModel: UsersViewModel

    // Determine whether the view is being used to edit an existing user or add a new one.
    var isEditing: Bool

    // State variables to store user information that will be edited or added.
    @State var user: User
    @State var name: String
    @State var surname: String

    // Initialize the view with an optional User. If a User is provided, the view is in edit mode.
    // If no User is provided, the view is in add mode.
    init(user: User?, viewModel: UsersViewModel) {
        self.viewModel = viewModel
        if let user = user {
            self.isEditing = true
            _user = State(initialValue: user)
            _name = State(initialValue: user.name)
            _surname = State(initialValue: user.surname)
        } else {
            self.isEditing = false
            // Initialize a new User with empty properties to be filled in by the user.
            _user = State(initialValue: User(id: nil, name: "", surname: ""))
            _name = State(initialValue: "")
            _surname = State(initialValue: "")
        }
    }

    var body: some View {
        // A navigation view that contains a form.
        NavigationView {
            Form {
                // Text fields for the user's name and surname.
                TextField("Name", text: $name)
                TextField("Surname", text: $surname)
                // A button to save changes or add a user.
                Button(isEditing ? "Save Changes" : "Add User") {
                    if isEditing {
                        // If editing, create an updated user instance and call the updateUser method.
                        let updatedUser = User(id: user.id, name: name, surname: surname)
                        viewModel.updateUser(user: updatedUser)
                    } else {
                        // If adding, create a new user instance and call the addUser method.
                        let newUser = User(id: nil, name: name, surname: surname)
                        viewModel.addUser(newUser: newUser)
                    }
                    // Dismiss the view after the operation.
                    presentationMode.wrappedValue.dismiss()
                }
                // Disable the save/add button if either the name or surname fields are empty.
                .disabled(name.isEmpty || surname.isEmpty)
            }
            // Set the title of the navigation bar based on whether editing or adding.
            .navigationBarTitle(isEditing ? "Edit User" : "New User", displayMode: .inline)
            // Add a cancel button to the navigation bar to dismiss the view without saving changes.
            .navigationBarItems(leading: Button("Cancel") {
                presentationMode.wrappedValue.dismiss()
            })
        }
    }
}
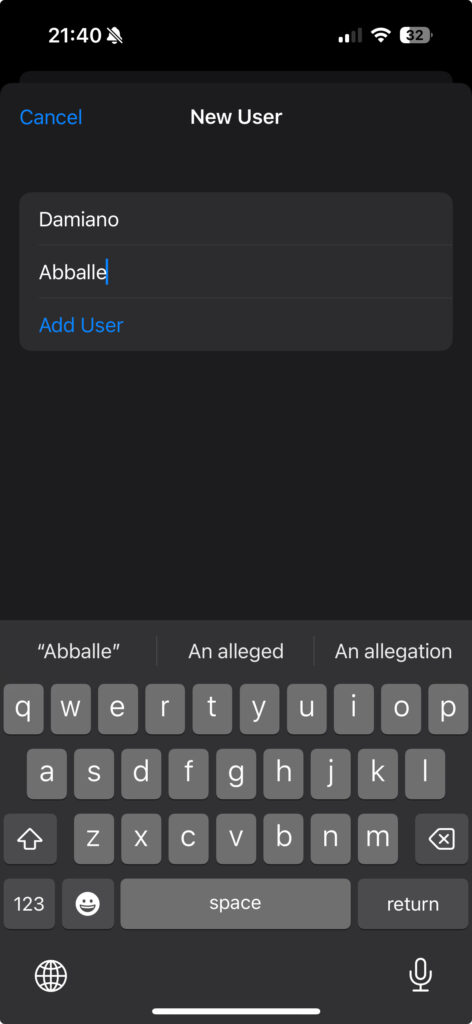
We have done and now, if we run the application, the following will be the result:

NEW USER:


EDIT USER:


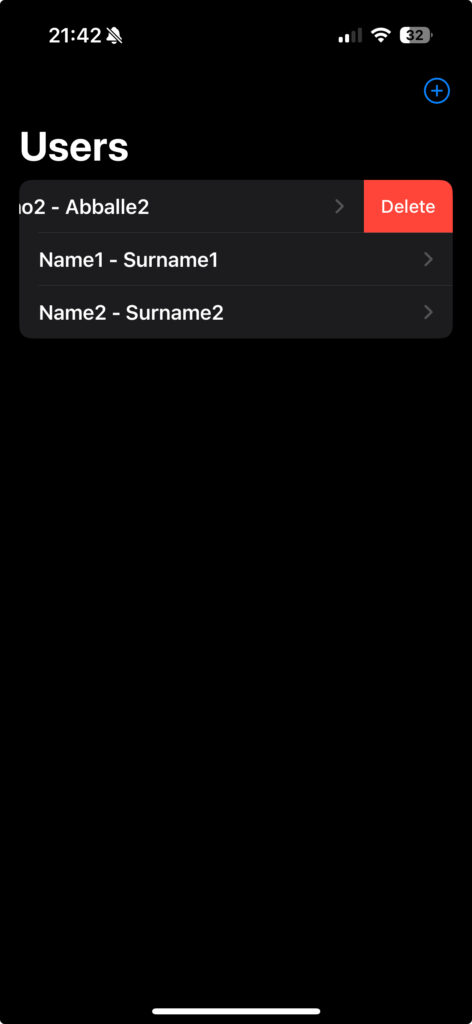
DELETE USER:

Differences Between SQLite and CoreData
SQLite is a lightweight, file-based database management system known for its simplicity and efficiency. It’s essentially a direct database interaction tool where we interact with the database by writing SQL queries. This requires a solid understanding of SQL. SQLite is all about managing the database schema manually, including creating tables, indexes, and handling migrations when the schema changes.
CoreData, on the other hand, is not a database but an object graph and persistence framework that can use SQLite as its storage. It’s more about managing objects and relationships rather than dealing directly with database operations. In CoreData, we define our data model visually in Xcode, creating entities and relationships without writing any SQL. This framework is essentially an ORM and automates many tasks, including CRUD operations and change tracking.
In summary, SQLite is a great choice if we need direct control over a database with SQL and cross-platform compatibility.
CoreData, meanwhile, is ideal if we’re looking for a high-level framework that offers object management and is tightly integrated with iOS and macOS development.
Our choice between SQLite and CoreData would largely depend on the specific requirements and nature of our project.