In this post, we will see how to create a custom button style in Swift.
First of all, we create a swift project and we add, in the file ContentView, this code:
[CONTENTVIEW.SWIFT]
import SwiftUI

struct ContentView: View {
    @State var result = "0"

    private func NumberXNumber()
    {
        let valA: Int = Int(result) ?? 0
        result = String(valA * valA)
    }

    var body: some View {
        VStack
        {
            HStack
            {
                Spacer()
                Text("Number x Number")
                Spacer().frame(width: 40, height: 30)
                TextField("", text: $result)
                        .keyboardType(.numberPad)
                        .textFieldStyle(RoundedBorderTextFieldStyle())
                Spacer()
            }
            Spacer().frame(width: 40, height: 60)
            Button(action: NumberXNumber) {
                Text("Run")
            }
            .frame(width: 100, height: 30)
            .background(Color.red)
            .foregroundColor(Color.white)
            .cornerRadius(35)
        }
    }
}

struct ContentView_Previews: PreviewProvider {
    static var previews: some View {
        ContentView()
    }
}
Obviously the application is very easy, but it isn’t the principal goal of the the post.
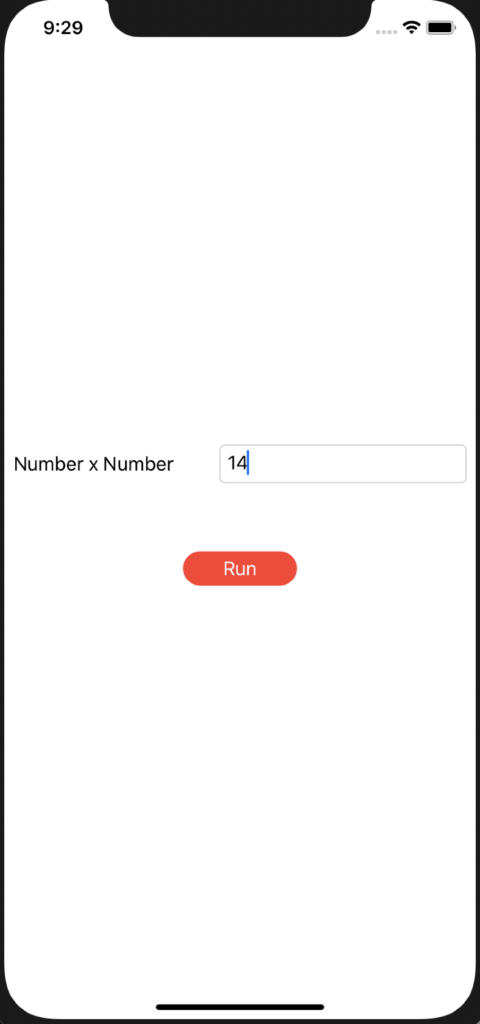
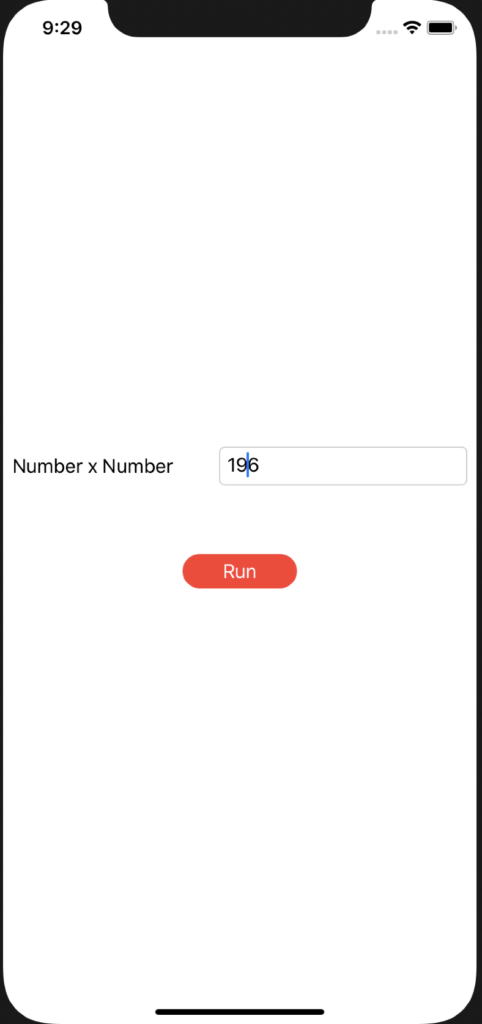
If we run the application, this will be the result:
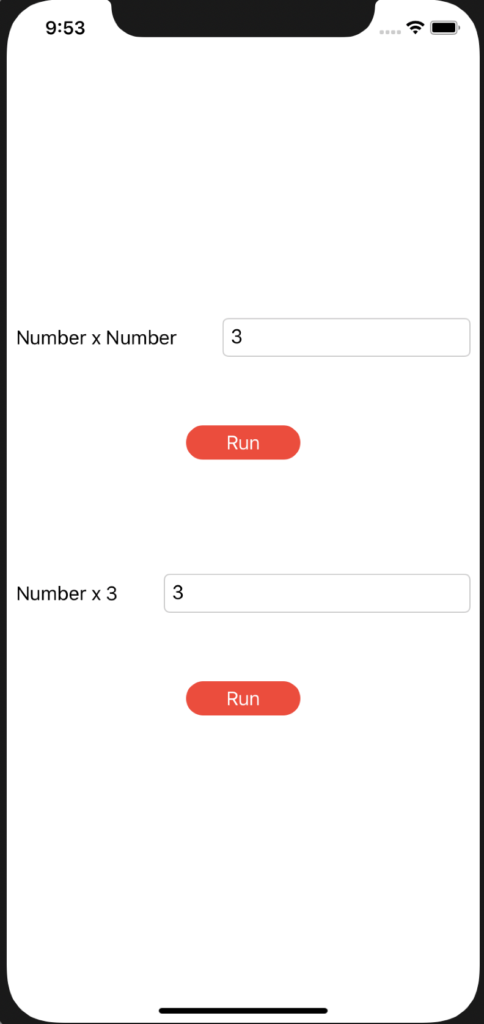
Now, we will insert a new functionality called NumberCube:
import SwiftUI

struct ContentView: View {
    @State var result = "0"
    @State var result2 = "0"

    private func NumberXNumber()
    {
        let valA: Int = Int(result) ?? 0
        result = String(valA * valA)
    }

    private func NumberCube()
    {
        let valA: Int = Int(result2) ?? 0
        result2 = String(valA * valA * valA)
    }

    var body: some View {
        VStack
        {
            HStack
            {
                Spacer()
                Text("Number x Number")
                Spacer().frame(width: 40, height: 30)
                TextField("", text: $result)
                        .keyboardType(.numberPad)
                        .textFieldStyle(RoundedBorderTextFieldStyle())
                Spacer()
            }
            Spacer().frame(width: 40, height: 60)
            Button(action: NumberXNumber) {
                Text("Run")
            }
            .frame(width: 100, height: 30)
            .background(Color.red)
            .foregroundColor(Color.white)
            .cornerRadius(35)
            Spacer().frame(width: 40, height: 100)
            HStack
            {
                Spacer()
                Text("Number x 3")
                Spacer().frame(width: 40, height: 30)
                TextField("", text: $result2)
                        .keyboardType(.numberPad)
                        .textFieldStyle(RoundedBorderTextFieldStyle())
                Spacer()
            }
            Spacer().frame(width: 40, height: 60)
            Button(action: NumberCube) {
                Text("Run")
            }
            .frame(width: 100, height: 30)
            .background(Color.red)
            .foregroundColor(Color.white)
            .cornerRadius(35)
        }
    }
}

struct ContentView_Previews: PreviewProvider {
    static var previews: some View {
        ContentView()
    }
}
We can see that, for every buttons, we have to write the same code to define the style.
In order to optimise the code, we will define a Button style that we will use for every buttons.
First of all, we create a file called ButtonStyleRed, where we will define the Button style:
[BUTTONSTYLERED.SWIFT]
import SwiftUI

struct ButtonStyleRed: ButtonStyle {

    func makeBody(configuration: Self.Configuration) -> some View {
        configuration.label
            .frame(width: 100, height: 30)
            .background(Color.red)
            .foregroundColor(Color.white)
            .cornerRadius(35)
    }
}
Finally, we modify ContentView in order to use BottonStyleRed:
import SwiftUI

struct ContentView: View {
    @State var result = "0"
    @State var result2 = "0"

    private func NumberXNumber()
    {
        let valA: Int = Int(result) ?? 0
        result = String(valA * valA)
    }

    private func NumberCube()
    {
        let valA: Int = Int(result2) ?? 0
        result2 = String(valA * valA * valA)
    }

    var body: some View {
        VStack
        {
            HStack
            {
                Spacer()
                Text("Number x Number")
                Spacer().frame(width: 40, height: 30)
                TextField("", text: $result)
                        .keyboardType(.numberPad)
                        .textFieldStyle(RoundedBorderTextFieldStyle())
                Spacer()
            }
            Spacer().frame(width: 40, height: 60)
            Button(action: NumberXNumber) {
                Text("Run")
            }
            .buttonStyle(ButtonStyleRed())
            Spacer().frame(width: 40, height: 100)
            HStack
            {
                Spacer()
                Text("Number x 3")
                Spacer().frame(width: 40, height: 30)
                TextField("", text: $result2)
                        .keyboardType(.numberPad)
                        .textFieldStyle(RoundedBorderTextFieldStyle())
                Spacer()
            }
            Spacer().frame(width: 40, height: 60)
            Button(action: NumberCube) {
                Text("Run")
            }
            .buttonStyle(ButtonStyleRed())
        }
    }
}

struct ContentView_Previews: PreviewProvider {
    static var previews: some View {
        ContentView()
    }
}
Now, if we run the application, this will be the result: