
In this post, we will see how to send notification using RabbitMQ with C#.
But first of all, what is RabbitMQ?
“RabbitMQ is a message-broker that offers multiple messaging protocols and features that help components asynchronously pass data (in the form of messages) among one another.”
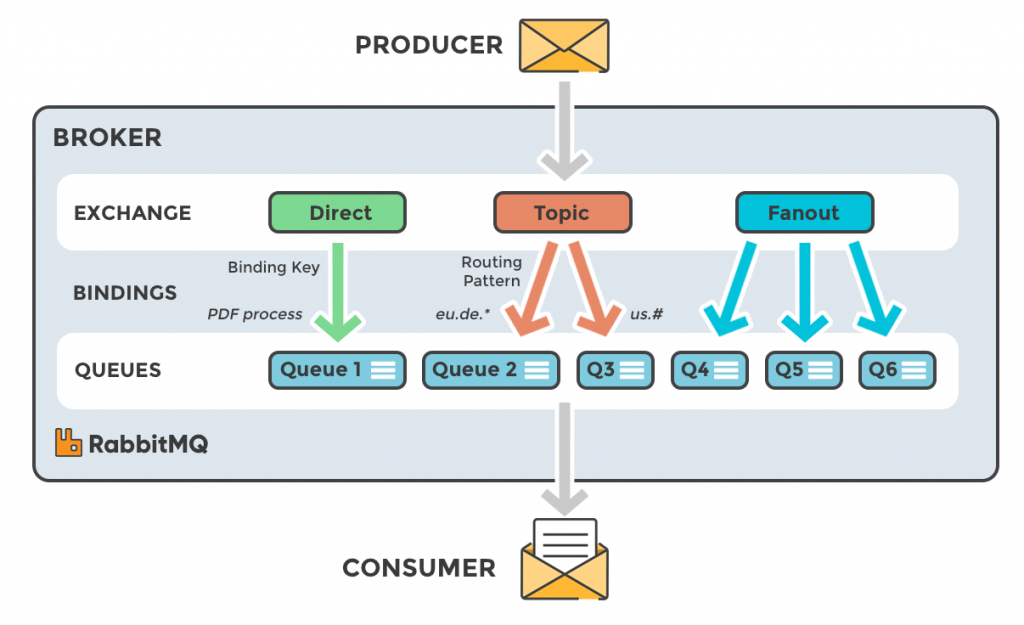
In RabbitMQ the messages are not published directly to a queue but, they are sent in an object called Exchange responsibles for routing the messages to different queues with the help of bindings (a link between a queue an Exchange) and routing keys.
There are four types of Exchange:
DIRECT: The message is routed to the queues whose binding key exactly matches the routing key of the message.
FANOUT: Fanout exchange routes messages to all of the queues bound to it.
TOPIC: Topic exchange does a wildcard match between the routing key and the routing pattern specified in the binding.
HEADERS: Headers exchanges use the message header attributes for routing.
In order to see how to manage a message with RabbitMQ, we will divide this post in three parts:
1) download and run a RabbitMQ Docker image
2) creation of a Producer (Web API)
3) creation of a Consumer (Console Application)
RABBITMQ
We open a terminal and run the command:
docker run -d --rm --name rabbitmq -p 5672:5672 -p 15672:15672 rabbitmq:3.8-management
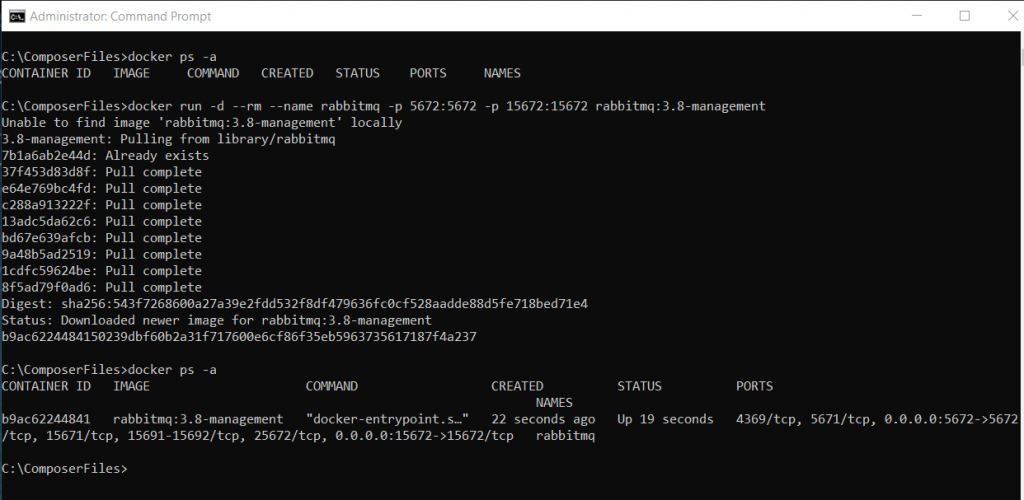
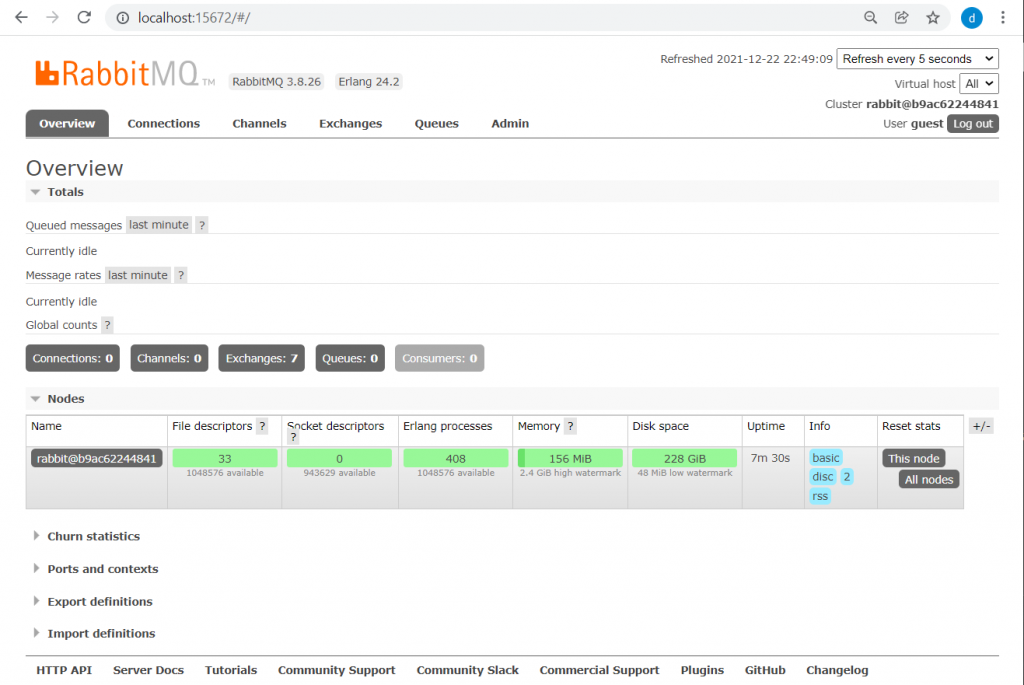
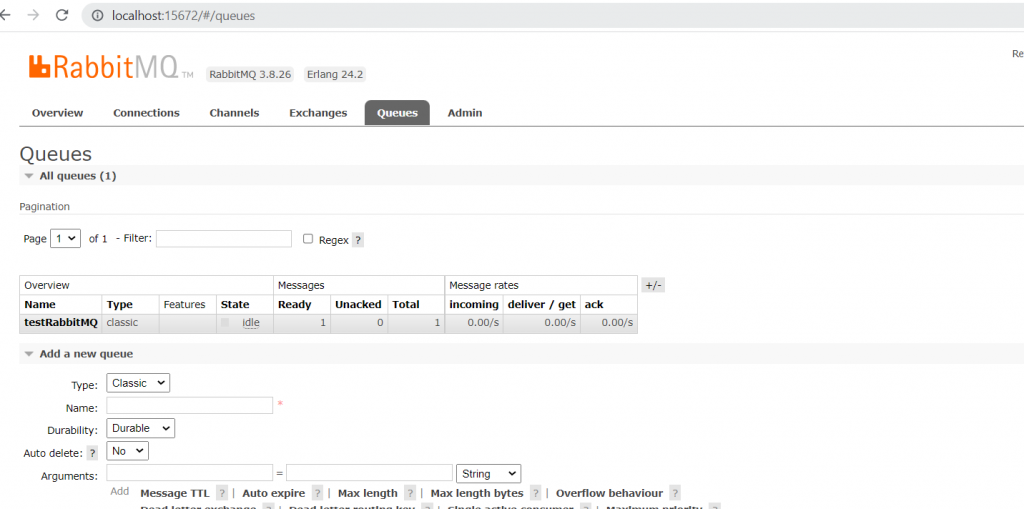
Now, if we open a browser and we go to http://localhost:15672/, this will be the result:
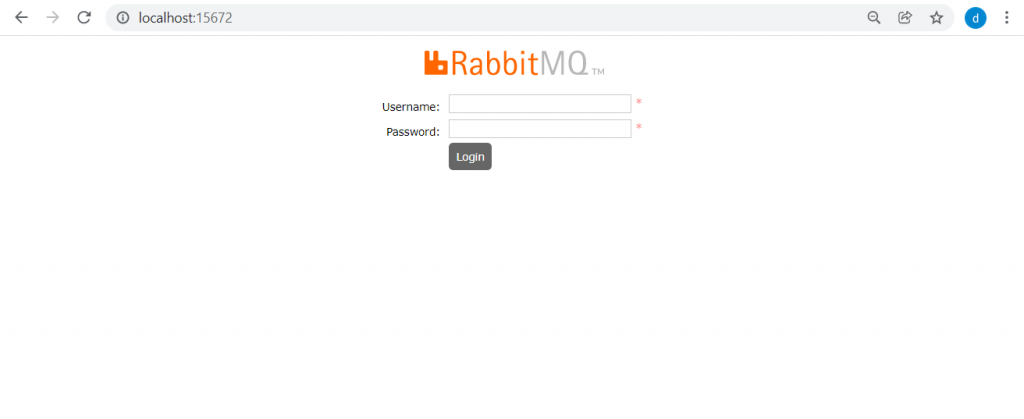
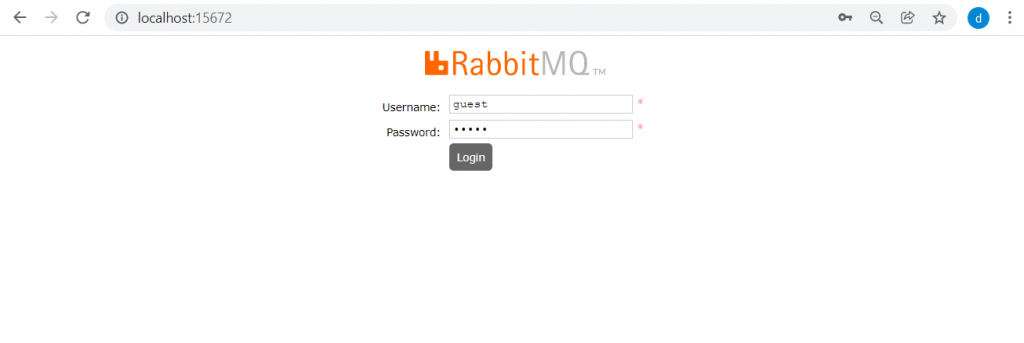
By default the value for Username and Password is guest:
PRODUCER
We open Visual Studio and we create a Web API project called ProducerForRabbitMQ where, we will add the RabbitMQ.Client library:
dotnet add package RabbitMQ.Client
Now, we will add a Class called CoreMessage where we will write the code for sending message:
[ICOREMESSAGE.CS]
namespace ProducerForRabbitMQ
{
    public interface ICoreMessage
    {
        void SendMessage(string message);
    }
}
[COREMESSAGE.CS]
using RabbitMQ.Client;
using System.Text;

namespace ProducerForRabbitMQ
{
    public class CoreMessage : ICoreMessage
    {
        private readonly ConnectionFactory _rabbitMQServer;
        private readonly string _queueName;
        public CoreMessage(string hostName, string queueName)
        {
            _rabbitMQServer = new ConnectionFactory() { HostName = hostName, Password="guest", UserName="guest" };
            _queueName = queueName;
        }

        public void SendMessage(string message)
        {
            // create connection
            using var connection = _rabbitMQServer.CreateConnection();

            // create channel
            using var channel = connection.CreateModel();

            // connect to the queue
            channel.QueueDeclare(queue: _queueName,
                                 durable: false,
                                 exclusive: false,
                                 autoDelete: false,
                                 arguments: null);

            // we need to write data in the form of bytes
            var bodyMessage = Encoding.UTF8.GetBytes(message);

            // push content into the queue
            channel.BasicPublish(exchange: "",
                                 routingKey: _queueName,
                                 basicProperties: null,
                                 body: bodyMessage);
        }
    }
}
Then, we will define the Dependency Injection for CoreMessage into Startup.cs file:
[STARTUP.CS]
using Microsoft.AspNetCore.Builder;
using Microsoft.AspNetCore.Hosting;
using Microsoft.Extensions.Configuration;
using Microsoft.Extensions.DependencyInjection;
using Microsoft.Extensions.Hosting;
using Microsoft.OpenApi.Models;
namespace ProducerForRabbitMQ
{
public class Startup
{
public Startup(IConfiguration configuration)
{
Configuration = configuration;
}
public IConfiguration Configuration { get; }
// This method gets called by the runtime. Use this method to add services to the container.
public void ConfigureServices(IServiceCollection services)
{
// in a real project, we MUST NOT insert the parameters in this way!
services.AddSingleton<ICoreMessage>(x => new CoreMessage("localhost", "testRabbitMQ"));
services.AddControllers();
services.AddSwaggerGen(c =>
{
c.SwaggerDoc("v1", new OpenApiInfo { Title = "ProducerForRabbitMQ", Version = "v1" });
});
}
// This method gets called by the runtime. Use this method to configure the HTTP request pipeline.
public void Configure(IApplicationBuilder app, IWebHostEnvironment env)
{
if (env.IsDevelopment())
{
app.UseDeveloperExceptionPage();
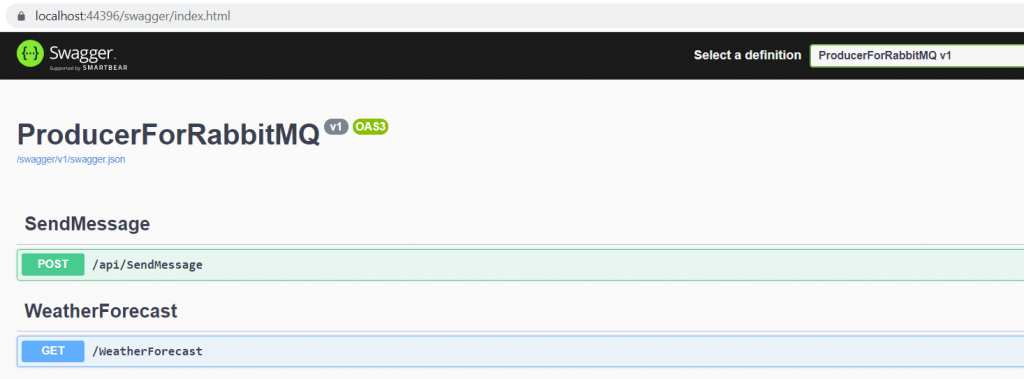
app.UseSwagger();
app.UseSwaggerUI(c => c.SwaggerEndpoint("/swagger/v1/swagger.json", "ProducerForRabbitMQ v1"));
}
app.UseHttpsRedirection();
app.UseRouting();
app.UseAuthorization();
app.UseEndpoints(endpoints =>
{
endpoints.MapControllers();
});
}
}
}
Finally, we define an Entity called Message that we will use in a controller called SendMessageController for sending message:
[MESSAGE.CS]
namespace ProducerForRabbitMQ
{
    public class Message
    {
        public string Text { get; set; }
    }
}
[SENDMESSAGECONTROLLER.CS]
using Microsoft.AspNetCore.Mvc;
namespace ProducerForRabbitMQ.Controllers
{
[Route("api/[controller]")]
[ApiController]
public class SendMessageController : ControllerBase
{
private readonly ICoreMessage _coreMessage;
public SendMessageController(ICoreMessage coreMessage)
{
_coreMessage = coreMessage;
}
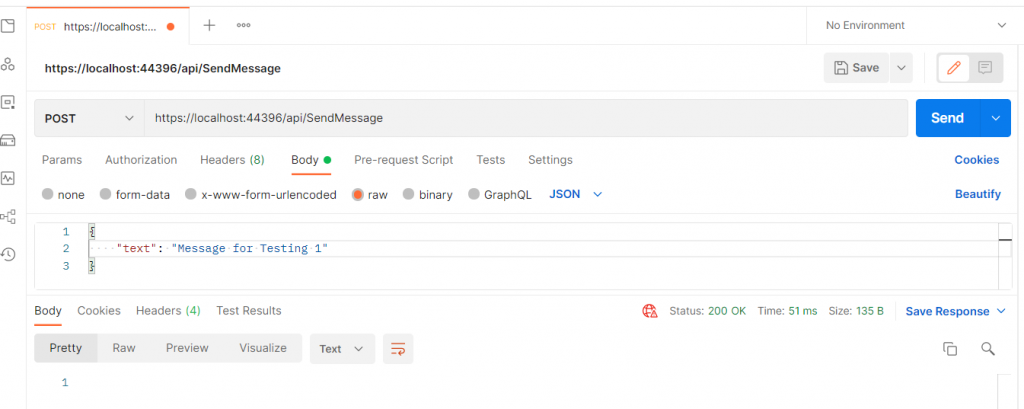
[HttpPost]
public IActionResult Send(Message inputMessage)
{
if (inputMessage == null || string.IsNullOrEmpty(inputMessage.Text))
{
return BadRequest();
}
_coreMessage.SendMessage(inputMessage.Text);
return Ok();
}
}
}
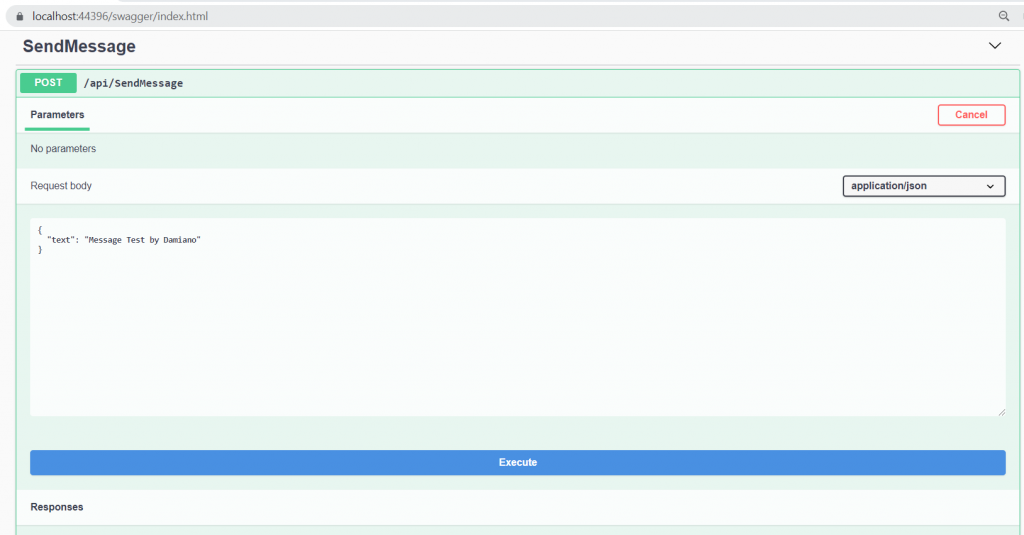
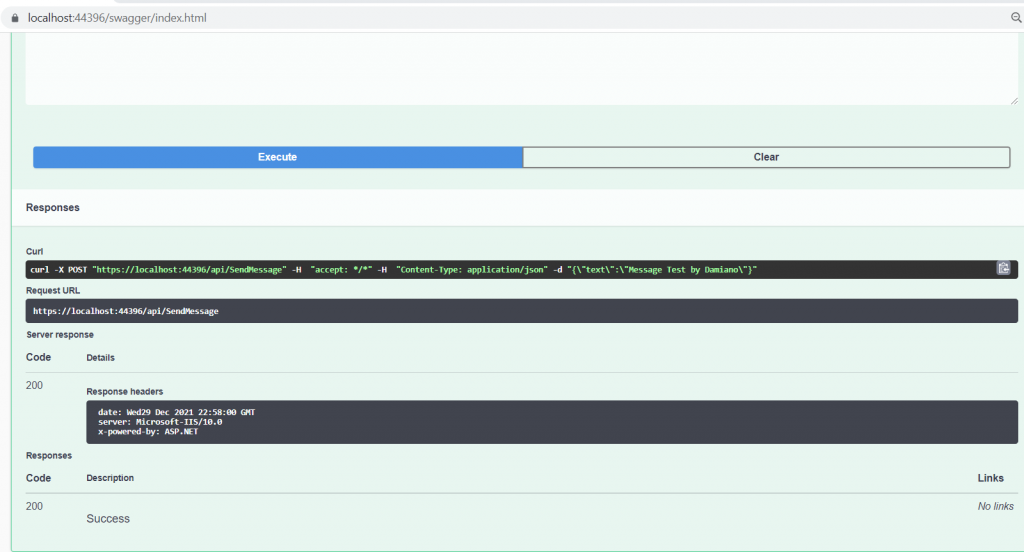
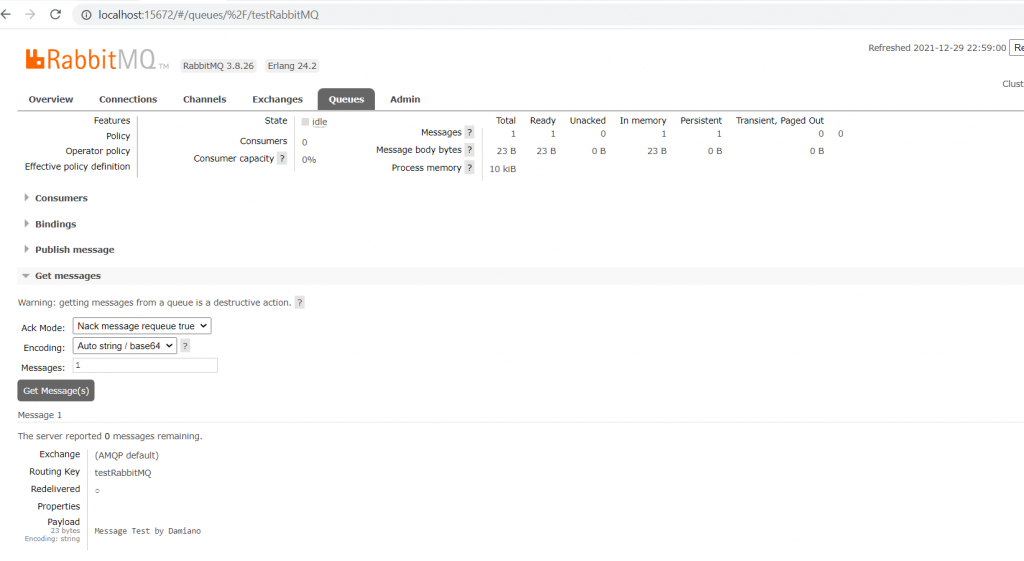
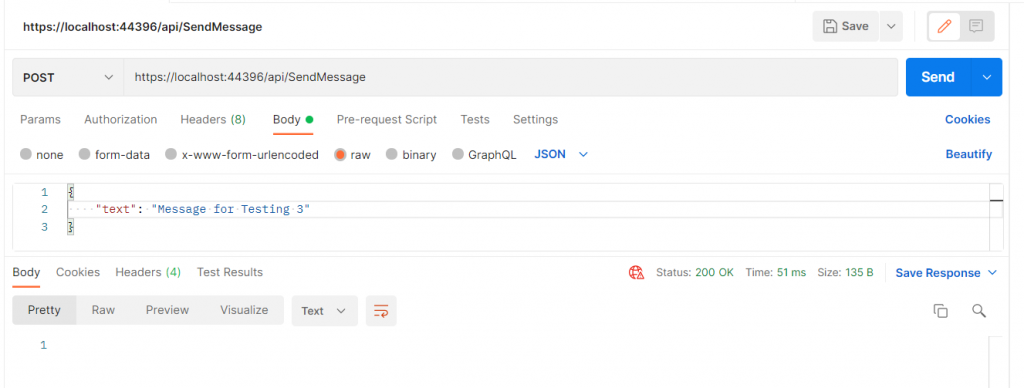
Now, if we run the application and we send a message, we can check in RabbitMQ UI if we have a message into the queue:
CONSUMER
We open Visual Studio and we create a Console Application project called ConsumerForRabbitMQ where, we will add the RabbitMQ.Client library:
dotnet add package RabbitMQ.Client
Then, we will add a class called ReadMessage where we will write the code for reading messages from a Direct Exchange:
[READMESSAGE.CS]
using RabbitMQ.Client;
using RabbitMQ.Client.Events;
using System;
using System.Text;

namespace ConsumerForRabbitMQ
{
    internal static class ReadMessage
    {
        public static void Start(IModel channel, string queueName)
        {
            // connect to the queue
            channel.QueueDeclare(queueName,
                durable: false,
                exclusive: false,
                autoDelete: false,
                arguments: null);

            // Consumer definition
            var consumer = new EventingBasicConsumer(channel);

            // Definition of event when the Consumer gets a message
            consumer.Received += (sender, e) => {
                ManageMessage(e);
            };

            // Start pushing messages to our consumer
            channel.BasicConsume(queueName, true, consumer);

            Console.WriteLine("Consumer is running");
            Console.ReadLine();
        }

        private static void ManageMessage(BasicDeliverEventArgs e)
        {
            // Obviously for this demo, we just print the message...
            var body = e.Body.ToArray();
            var message = Encoding.UTF8.GetString(body);
            Console.WriteLine(message);
        }
    }
}
Finally, we modify the Main method:
[PROGRAM.CS]
using RabbitMQ.Client;

namespace ConsumerForRabbitMQ
{
    internal class Program
    {
        static void Main(string[] args)
        {
            // definition of Connection
            var _rabbitMQServer = new ConnectionFactory() { HostName = "localhost", Password = "guest", UserName = "guest" };

            // create connection
            using var connection = _rabbitMQServer.CreateConnection();

            // create channel
            using var channel = connection.CreateModel();

            // Read messages
            ReadMessage.Start(channel, "testRabbitMQ");
        }
    }
}
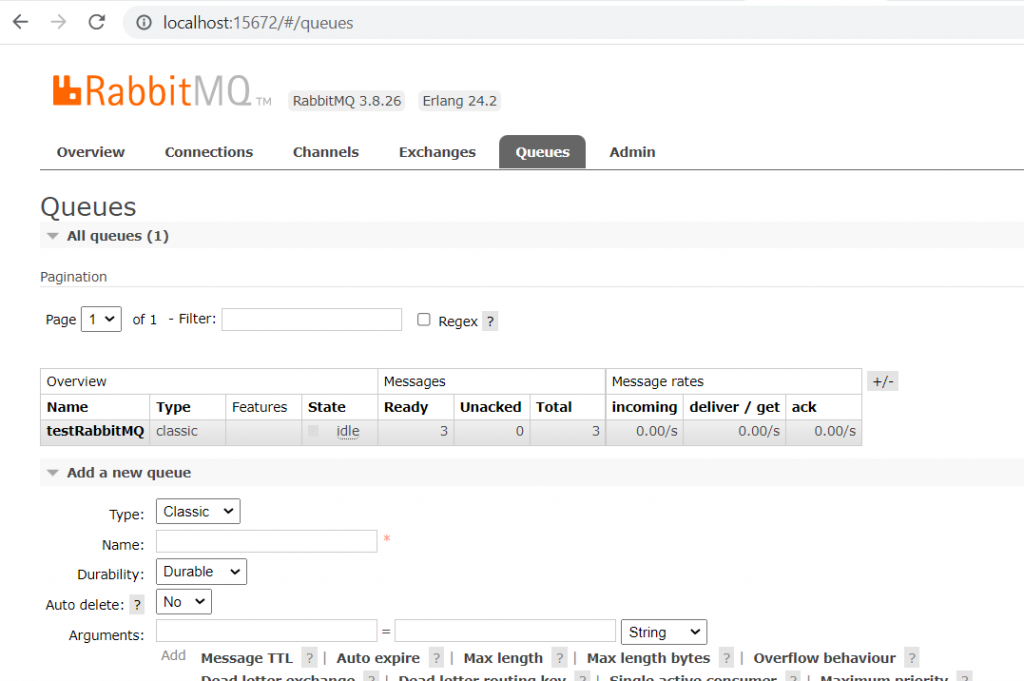
Now, we will send 3 new messages and then, we will run the Consumer for reading them:
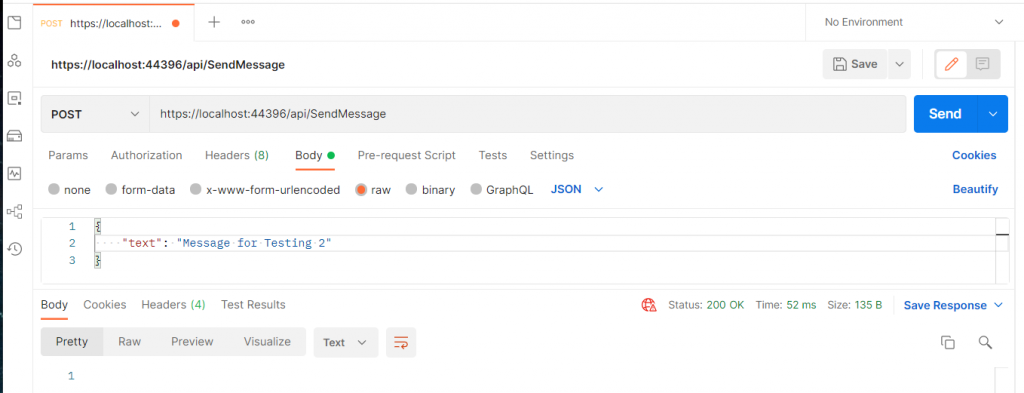
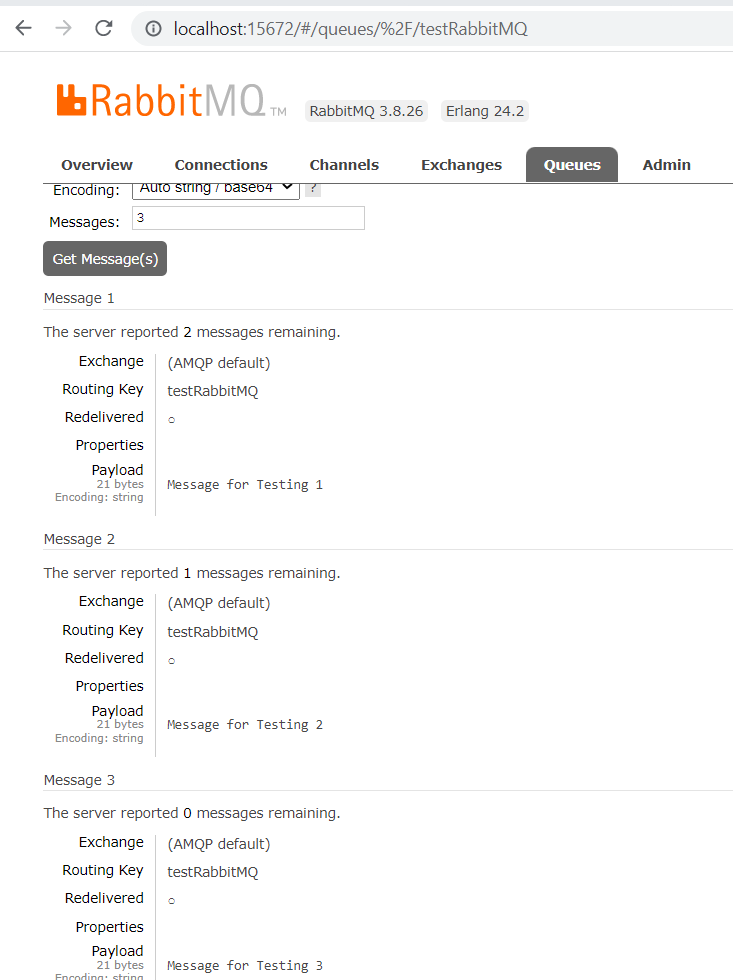
If we go to the RabbitMQ dashboard, we can see three new messages:
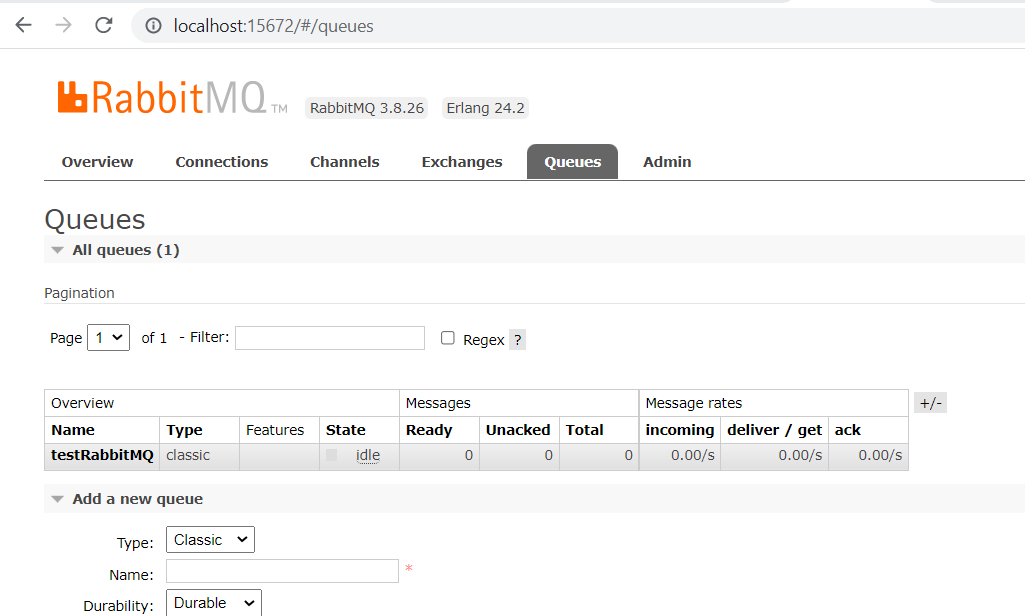
Now, if we run the Consumer, we will read the messages in the console application and, if we come back to the RabbitMQ dashboard, we will see that the three messages don’t exist anymore:

PRODUCER – CODE
https://github.com/ZoneOfDevelopment/RabbitMQProducer
CONSUMER – CODE
https://github.com/ZoneOfDevelopment/ConsumerForRabbitMQ